
Make Your Own Dairy Free Milk!
/Gluten Free - Dairy Free - Refined Sugar Free
Do you ever find yourself at the grocery store reading dairy free milk labels wondering, “What? How do you even pronounce that? Wait… it says it’s unsweetened but how does it contain so much sugar?”
If you’ve faced this confusion, you are not alone. This is why I make my own dairy free milk each week. Now before you think I’m a mad woman that just told you that I soak and squeeze fresh milk, bake a loaf of fresh bread, and churn my own grass-fed butter on the daily, I assure it’s not like that. Making your own nut/seed milk is incredibly delicious, quick, and easy.
Store bought milks come with loads of additives, sugars, emulsifiers, preservatives, and cost a lot of money for the watered down version they deliver. Homemade nut and seed milks are fresh, rich in taste, high in nutrients, versatile, and you know exactly what is in them.
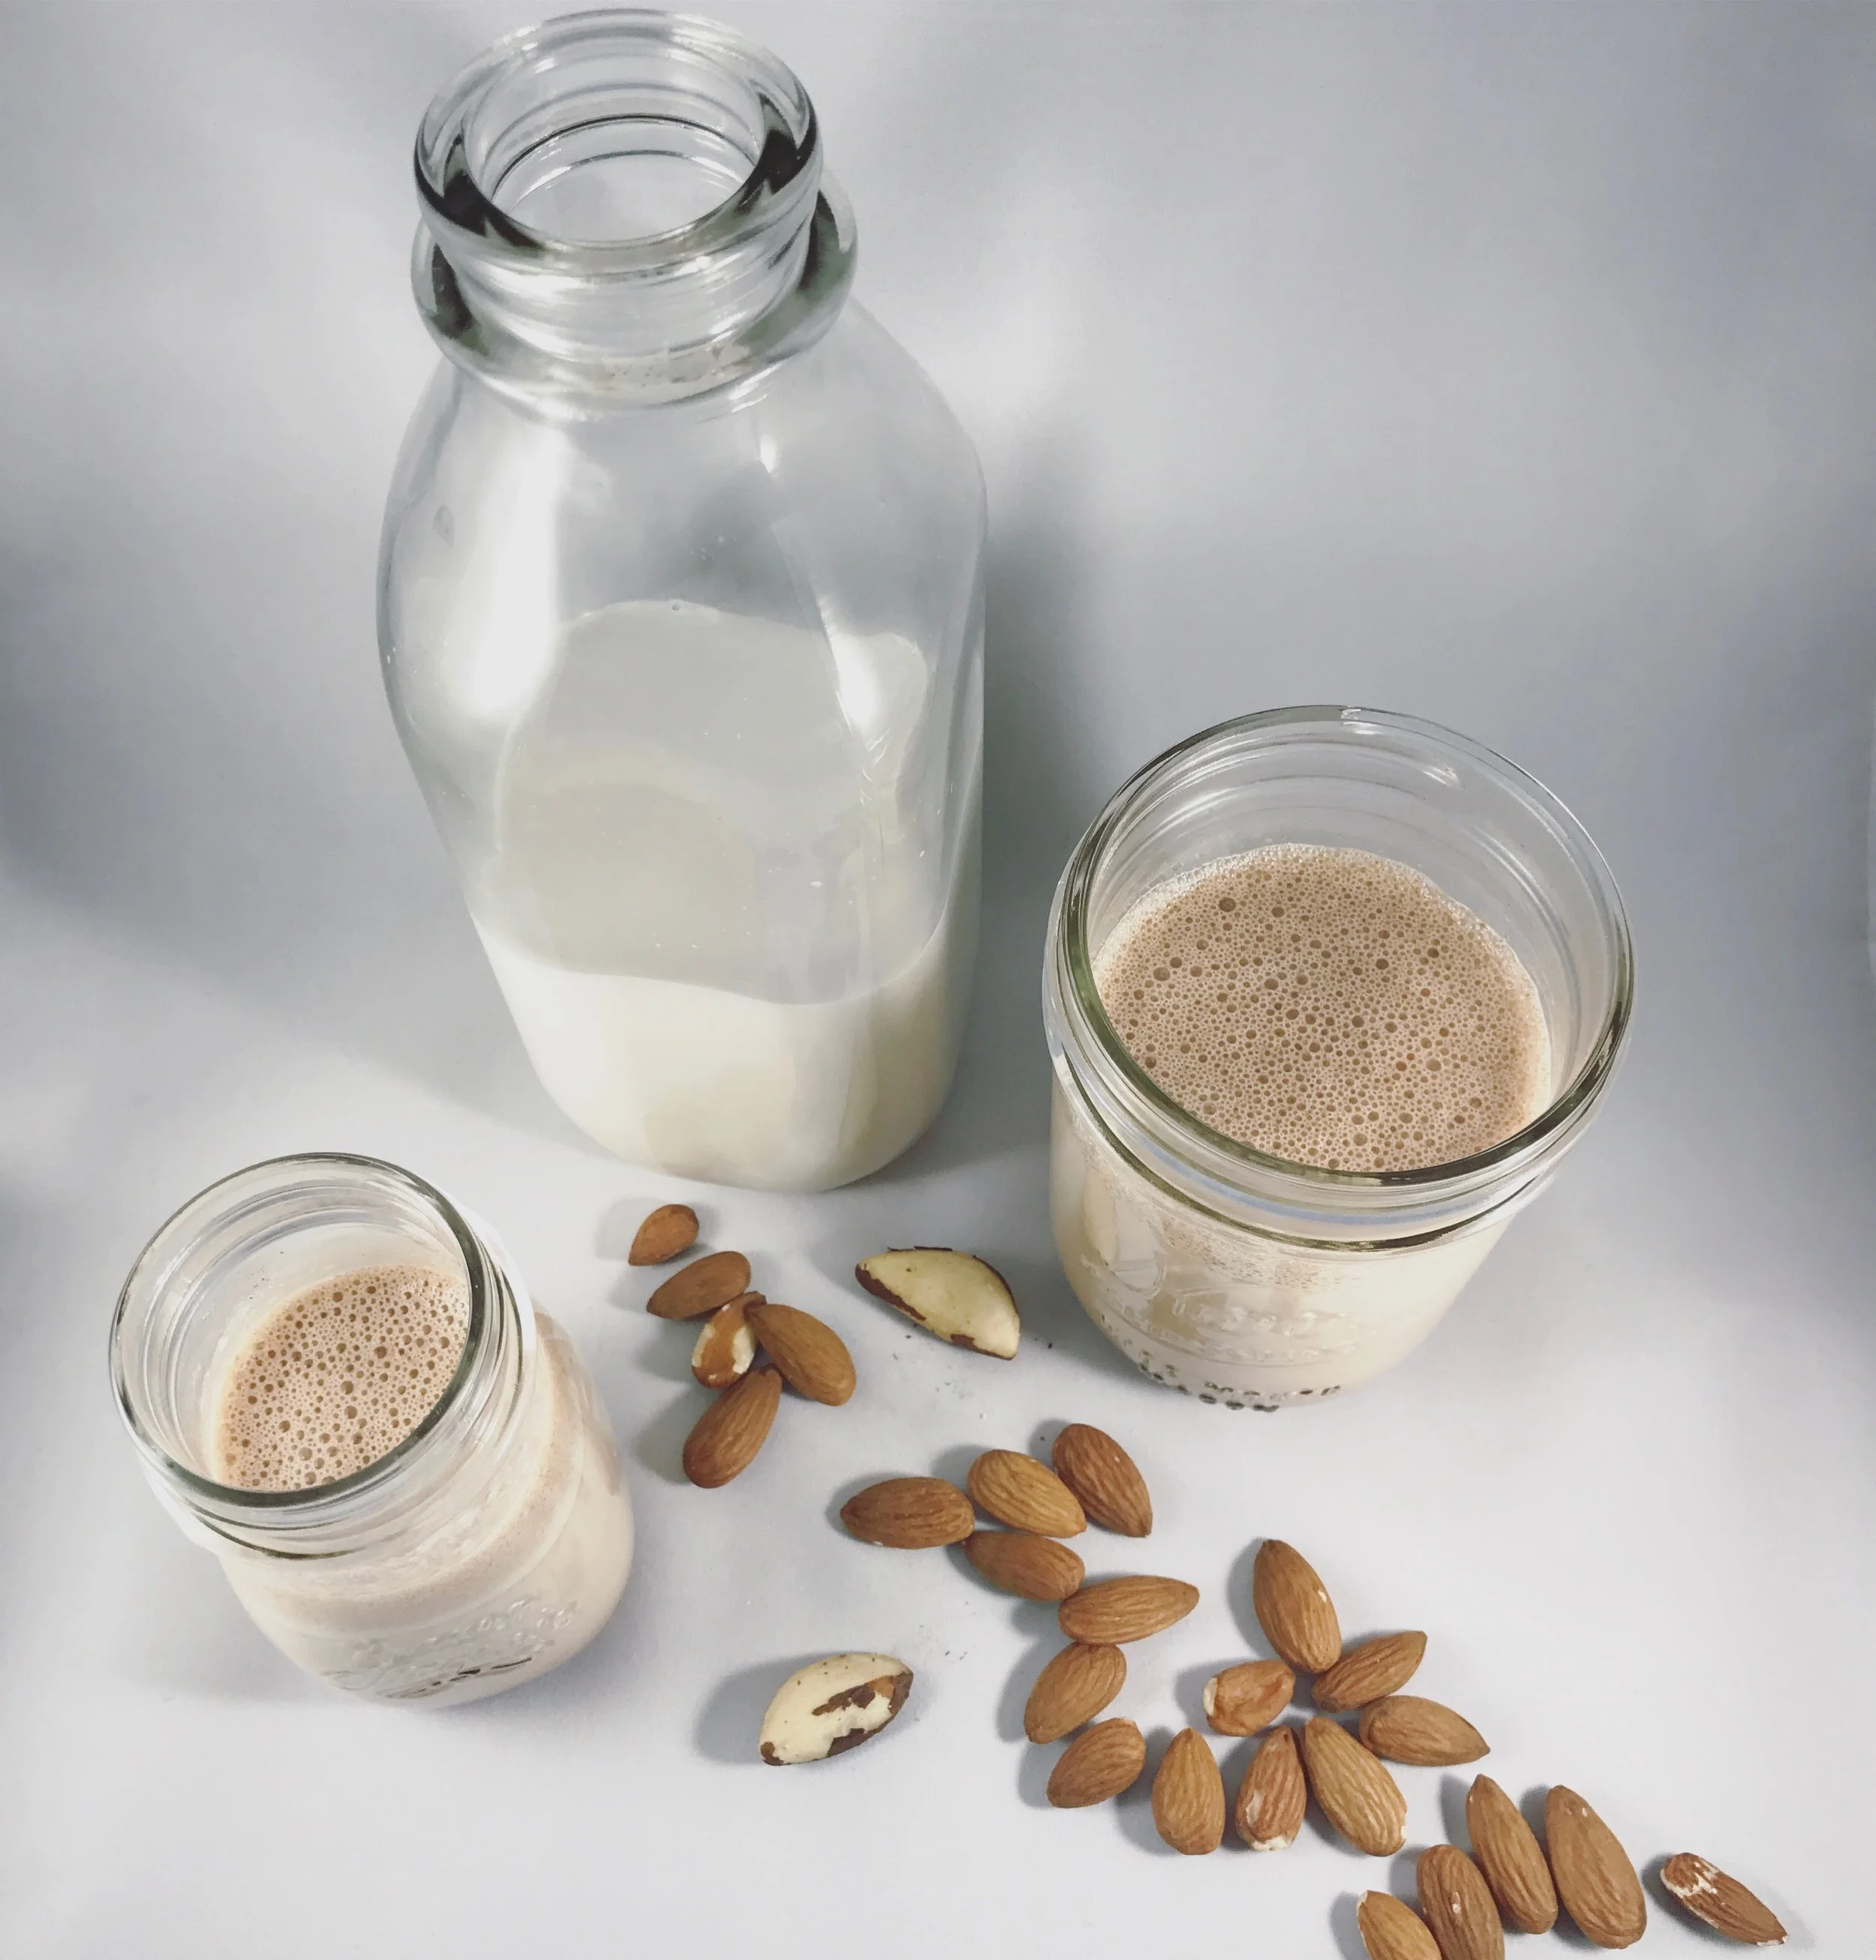
Dairy free milk is used the same way that you would use any other milk choice. It’s great to sip from a glass (try our Chocolate and Chai Milk recipes), mix into a smoothie, pour over granola, use in baking, or even spill without crying (you know the old saying). It’s just as versatile without all the bellyache or inflammation! I call that a win-win.
Making your own nut milk takes about 5 minutes to blend and squeeze. The only part that takes some planning is soaking your nuts (that will always make me laugh) prior to blending. Depending on the nut or seed, you will soak around 4+ hours to get the most nutrient-rich milk that blends well, with greater yield.
Let’s get soaking, blending, and squeezing…
Dairy Free Nut/Seed Milk
Soak Time: ~ 4+ hrs.
Prep Time: 5 min.
Makes: ~ 32 Oz.
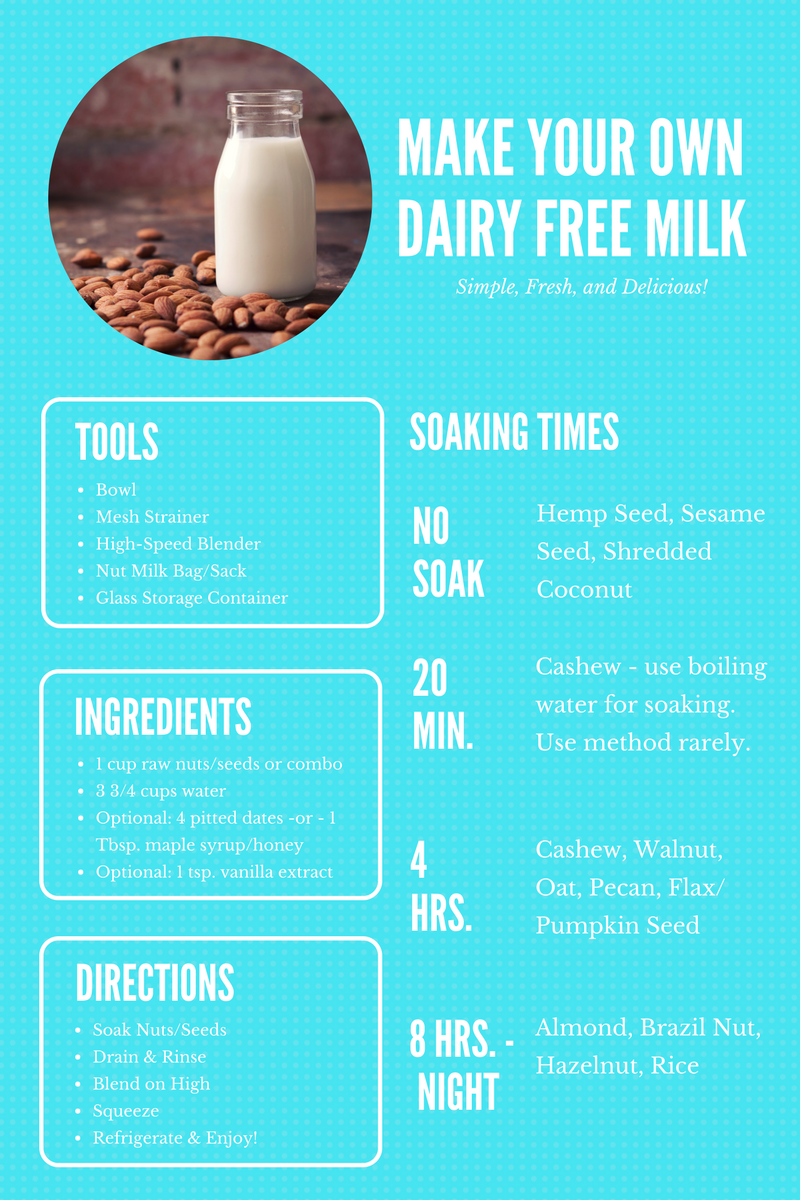
Tools
- Bowl
- Mesh strainer
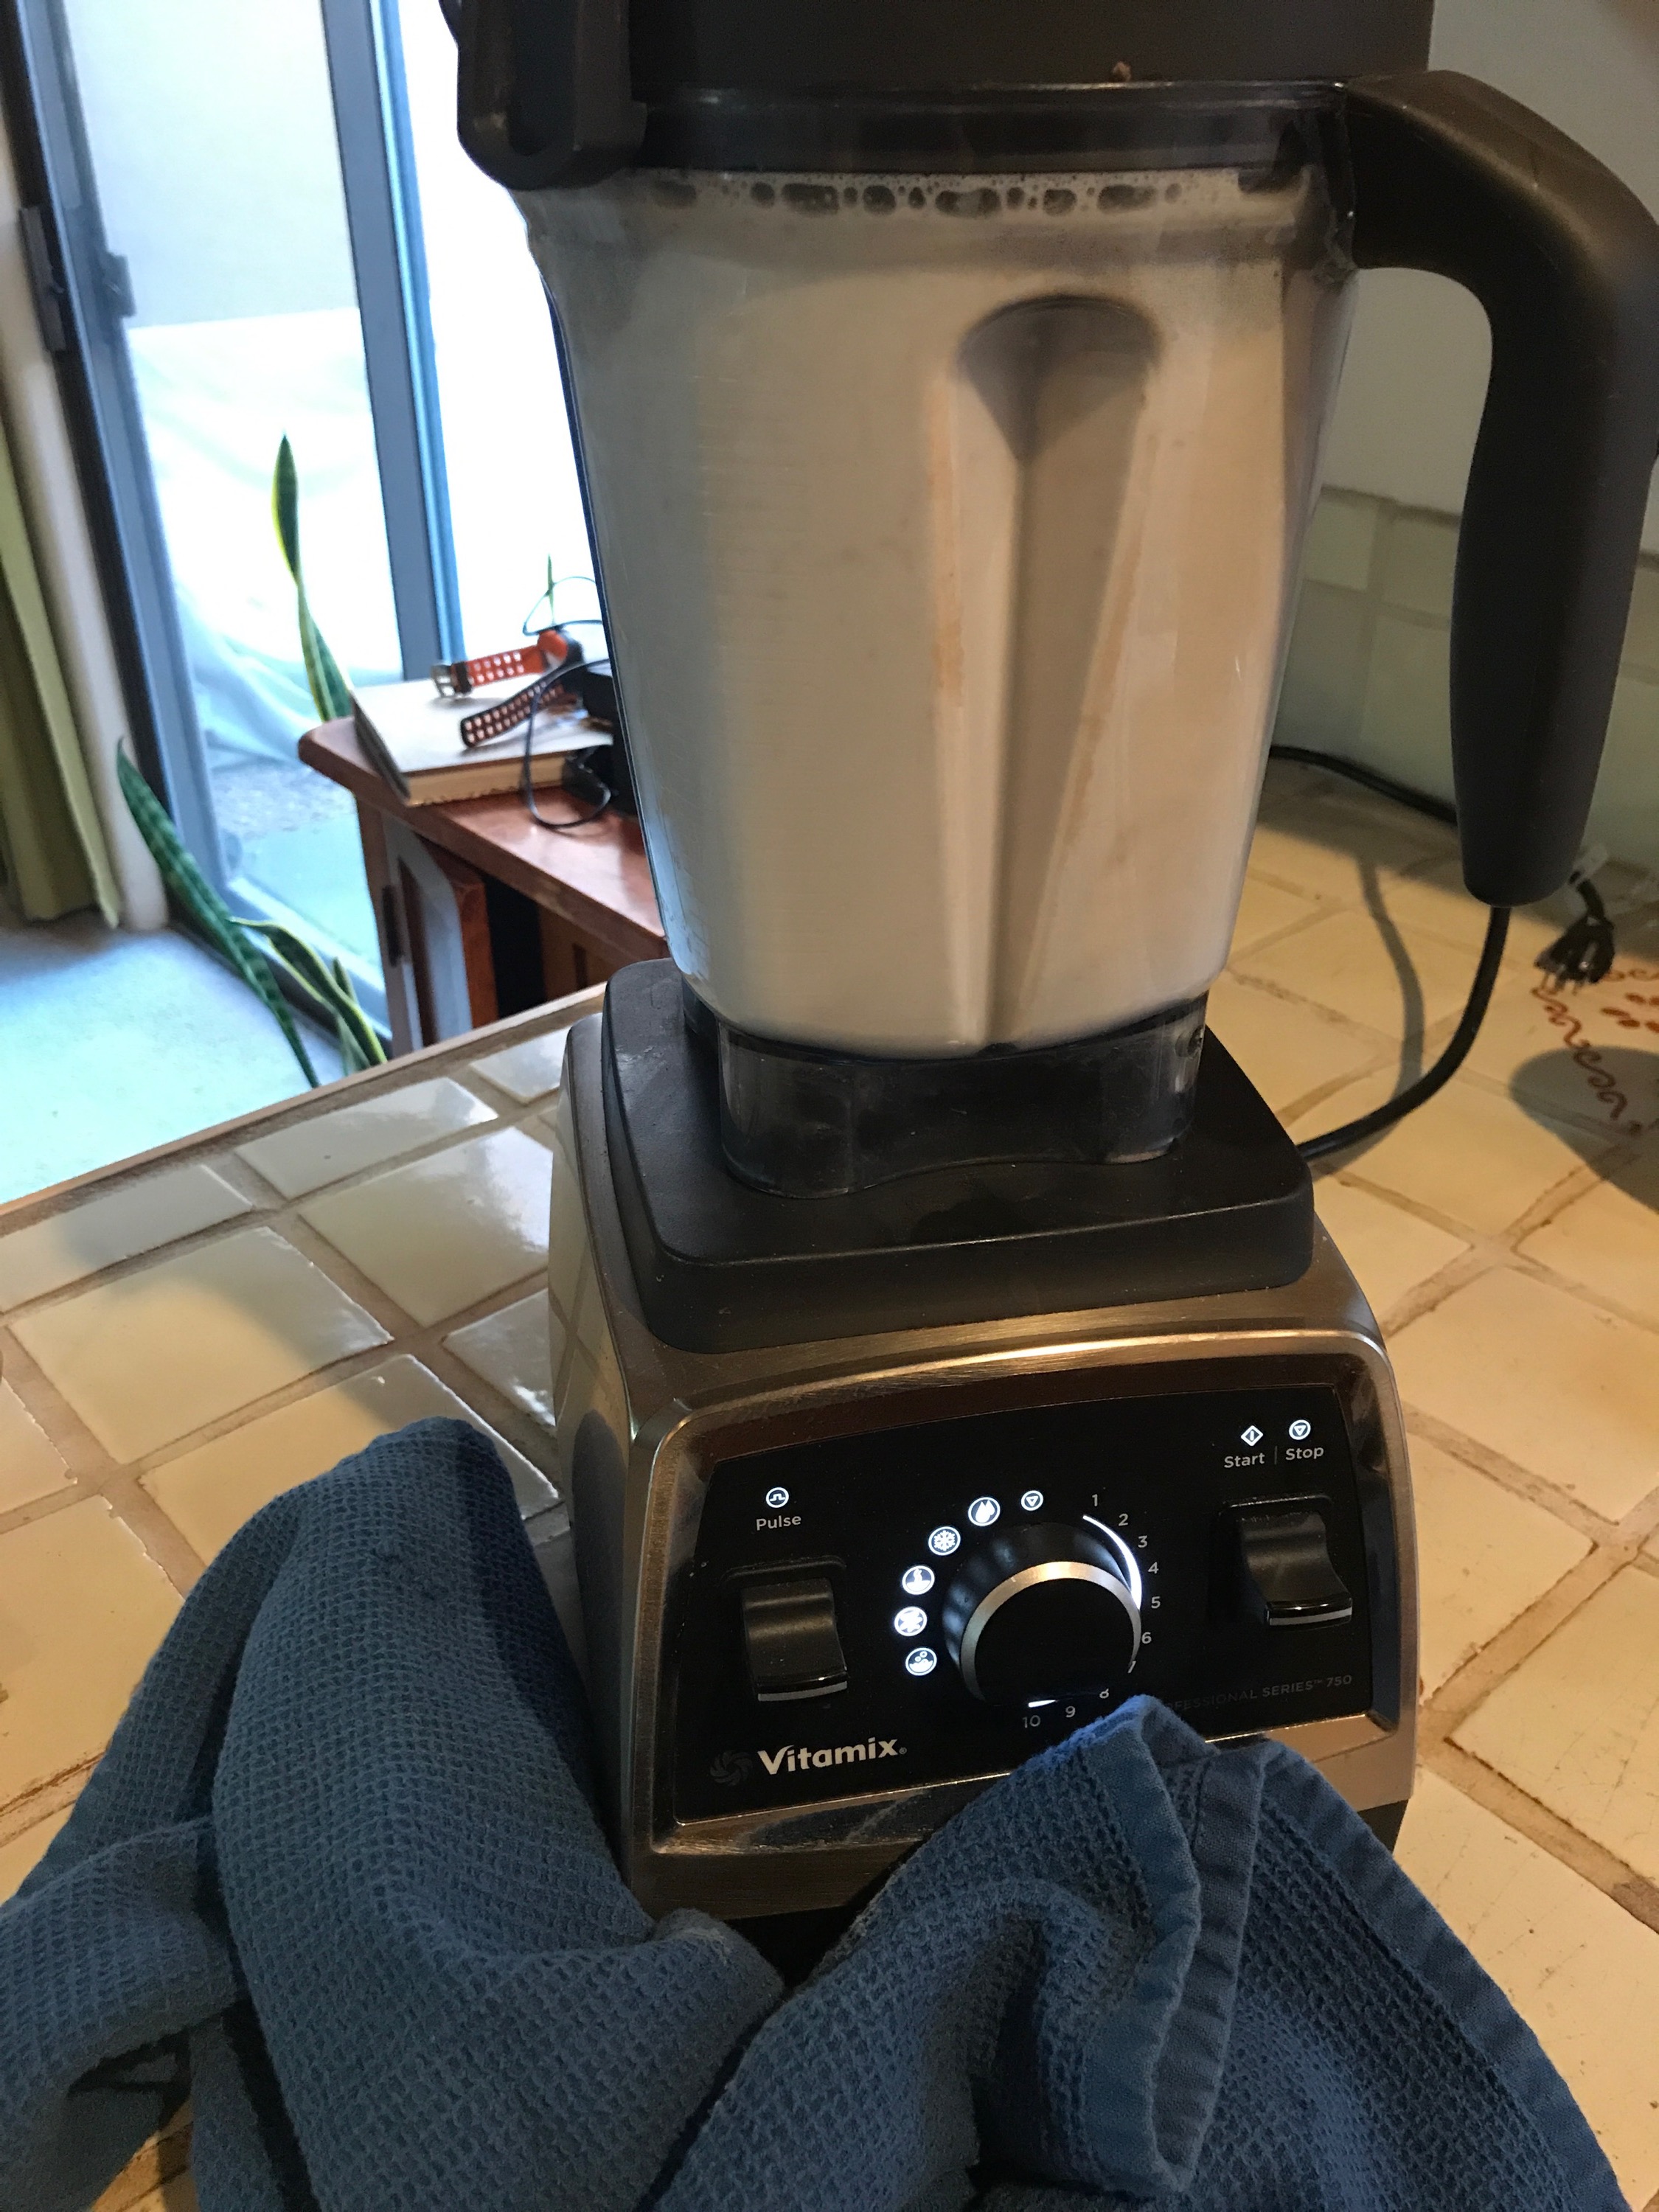
- High-speed or super strong blender
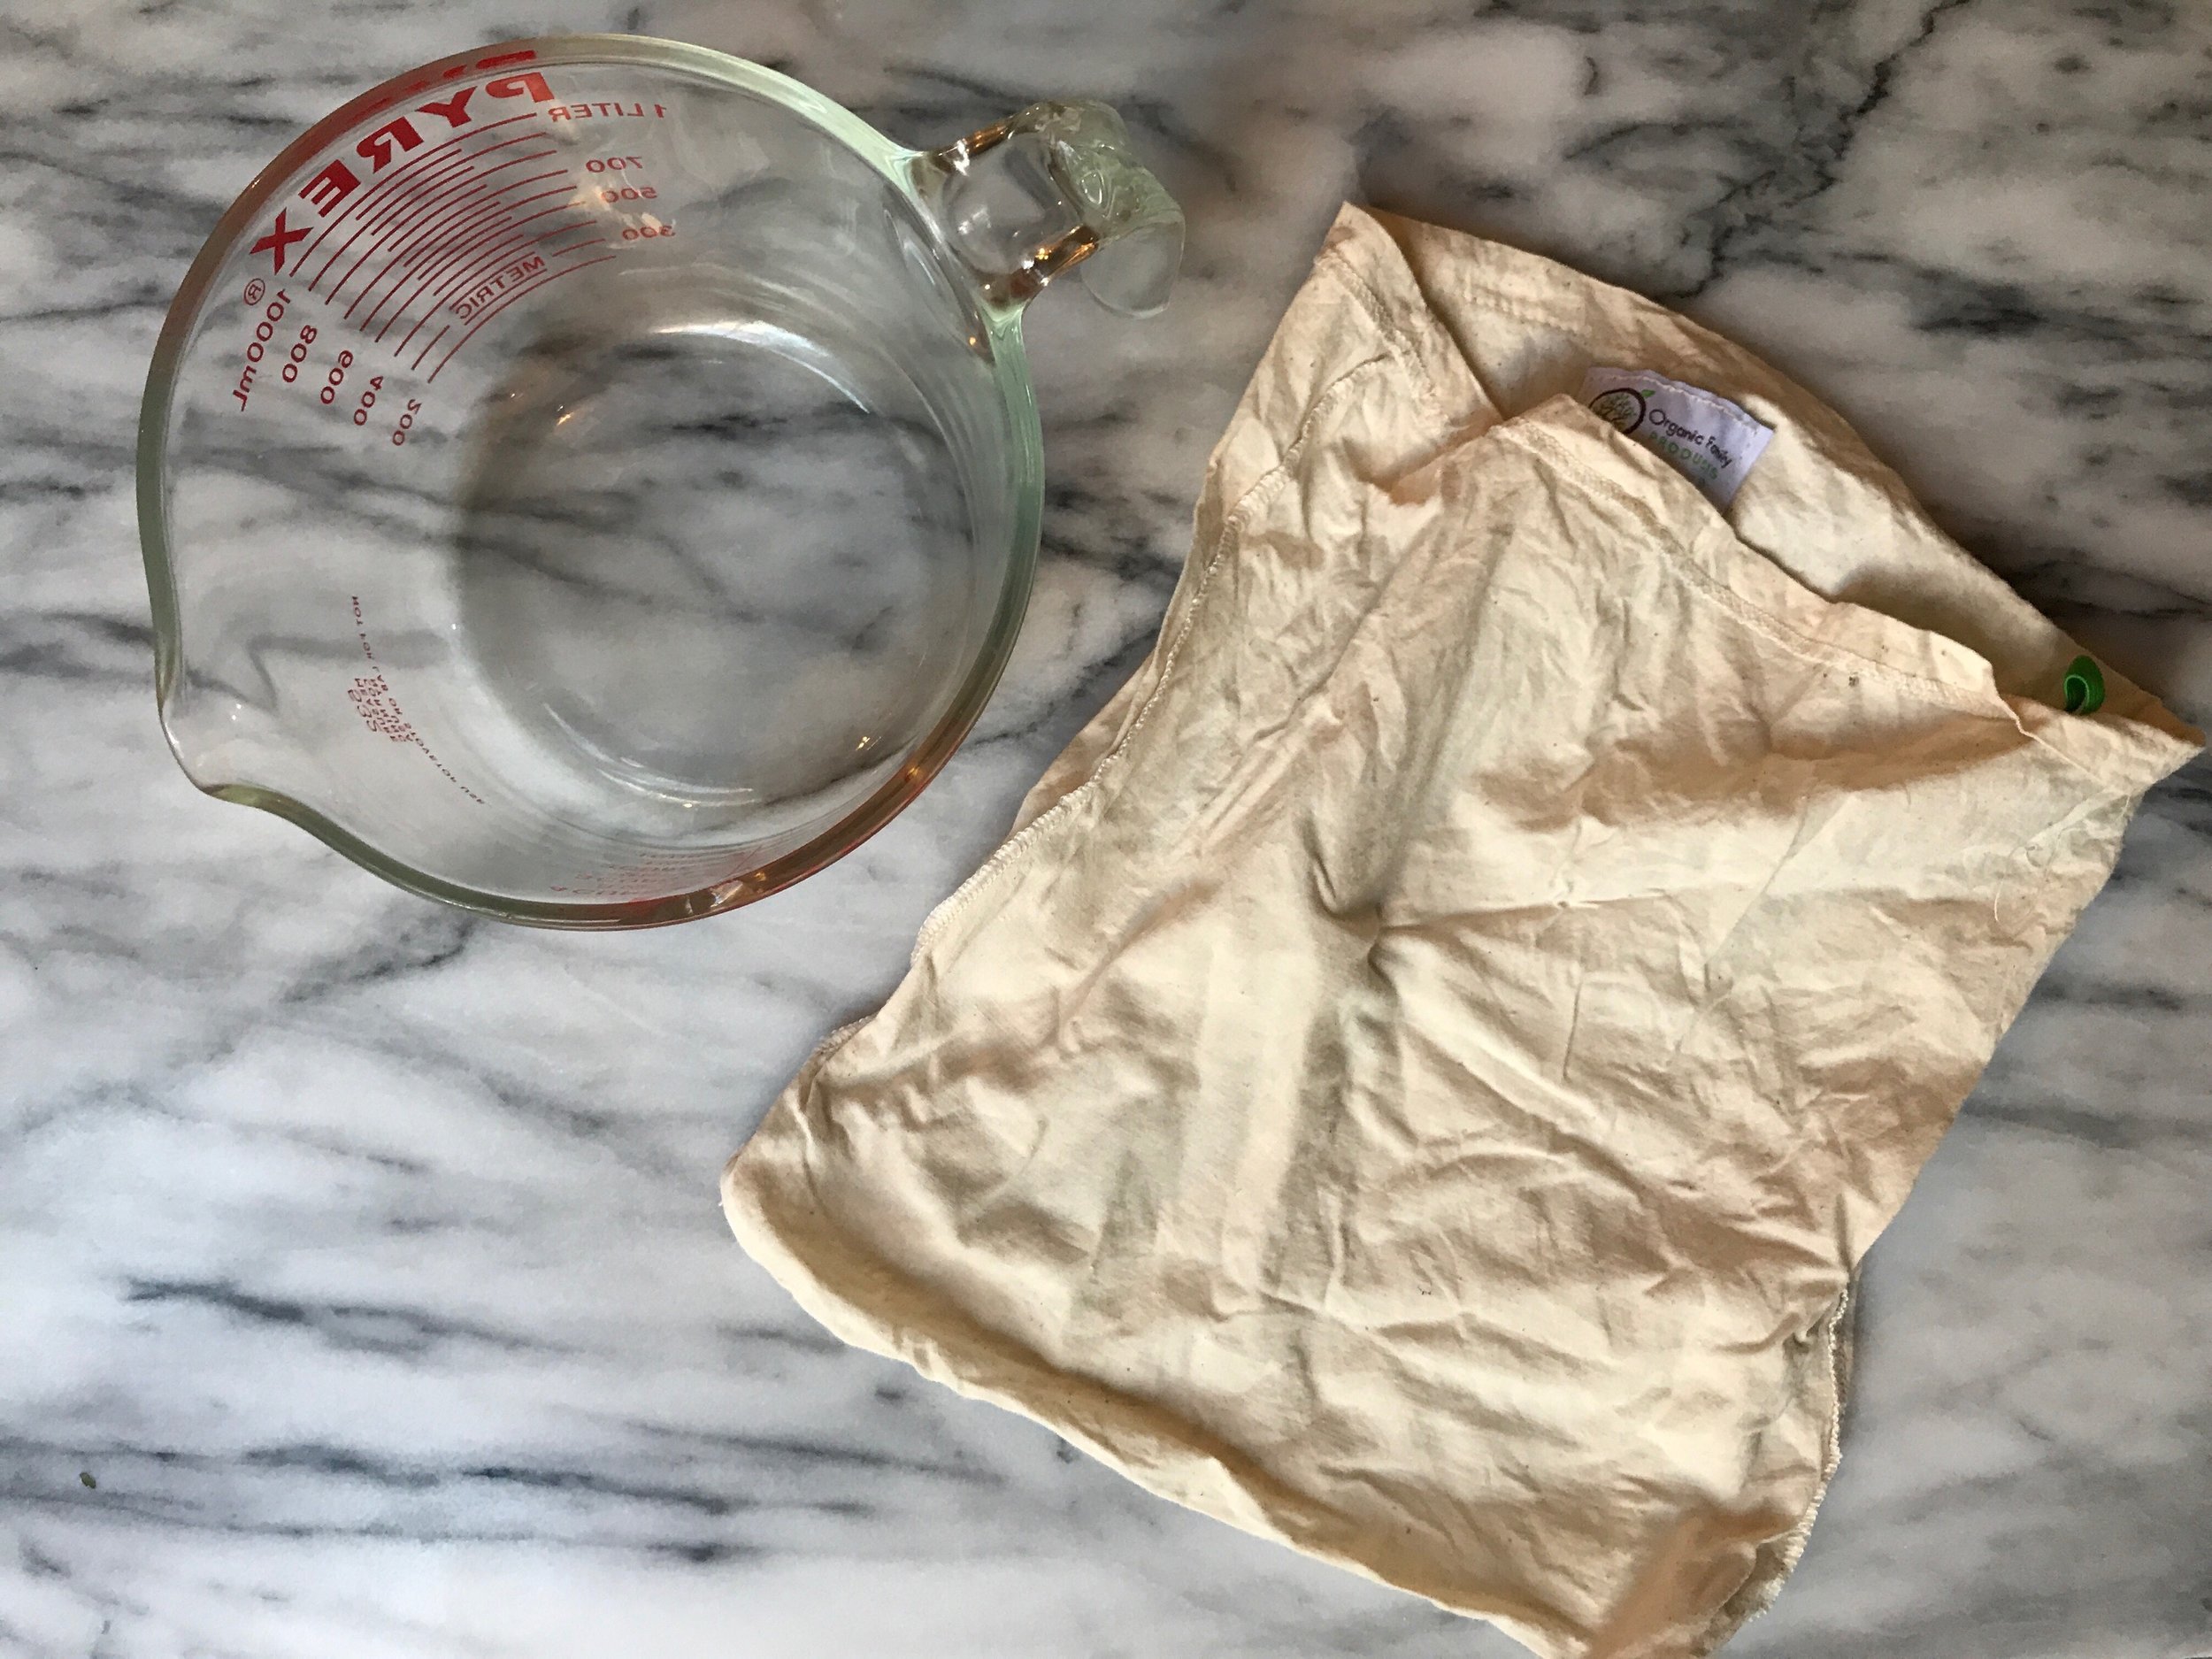
- 32 oz. glass measuring cup with pour spout or bowl
- Nut milking bag/sack (ha! Still not old)
- Glass container for storage (mason jar, repurposed jar, or fancy old school looking milk jug)
Ingredients
- 1 cup nuts/seeds, soaked (see below for soak times)
- 3 ¾ cups water (adjust amt. to your liking ~3 - 4 cups water)
- Optional: 4 pitted dates or 1 Tbs. of honey/maple syrup
- Optional: 1 tsp. vanilla extract
Directions
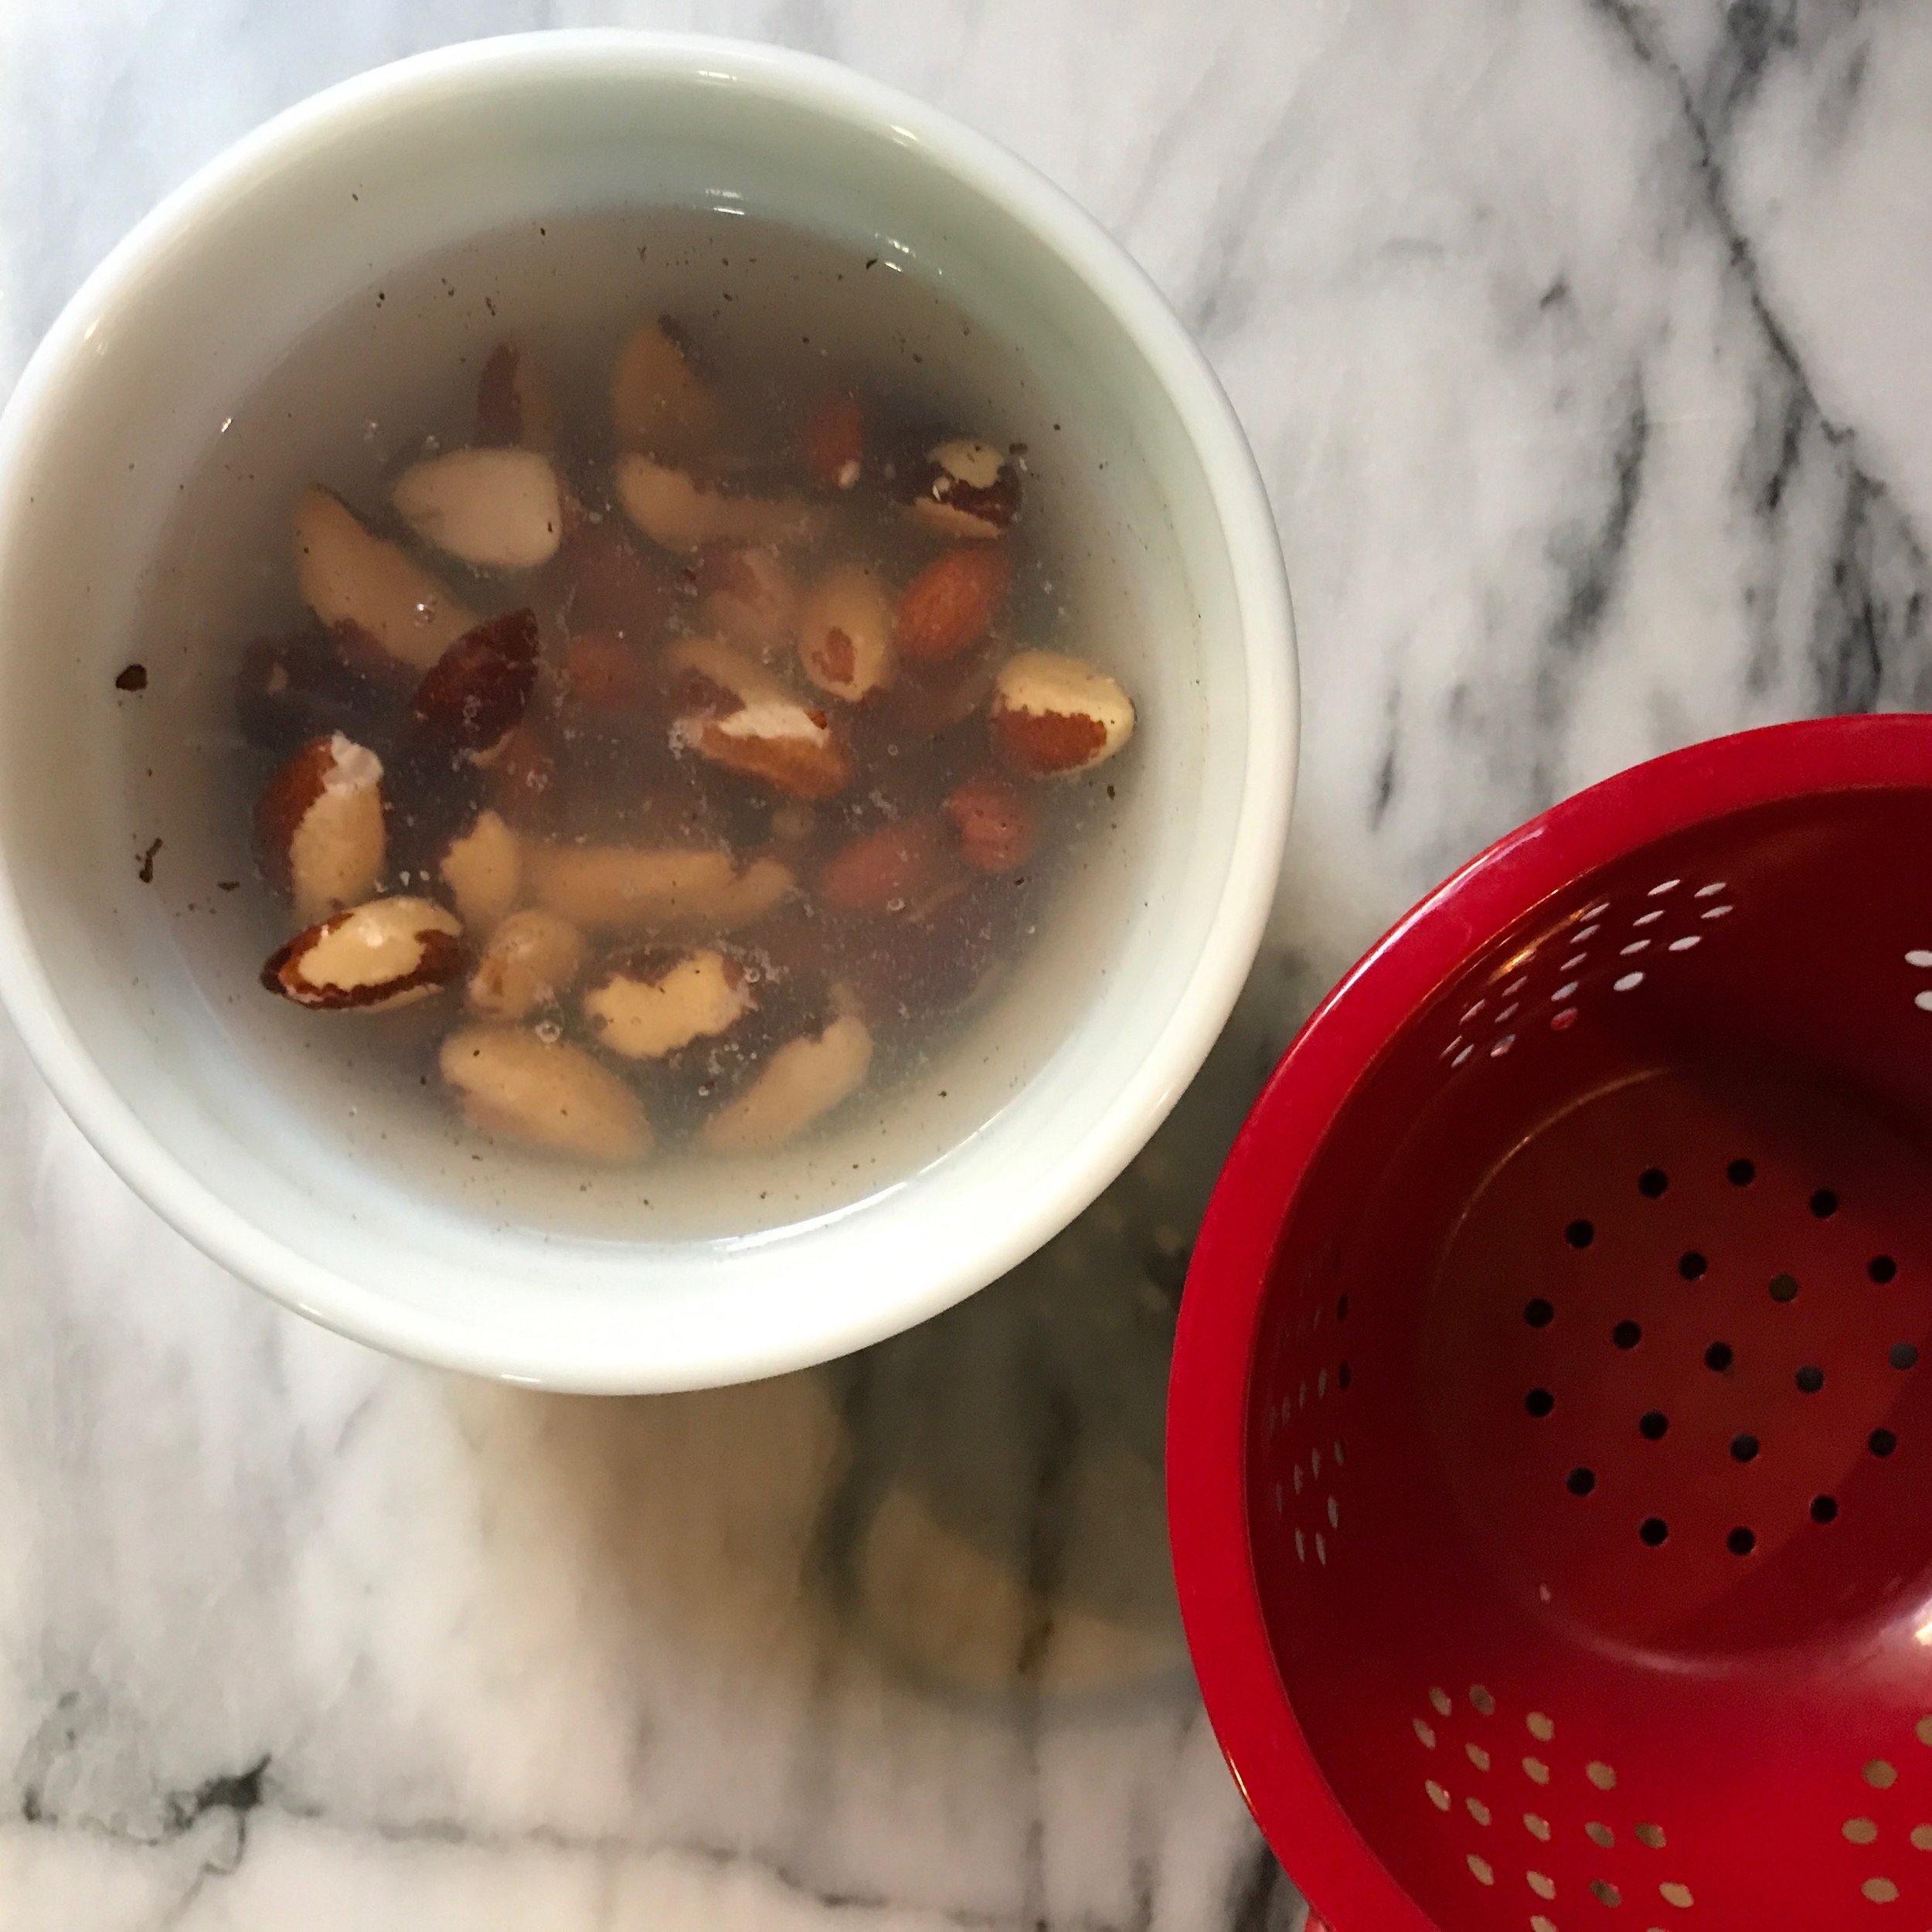
- Soak your nuts/seeds (or combination of), as per soaking chart.
- After soaking, drain and rinse well.
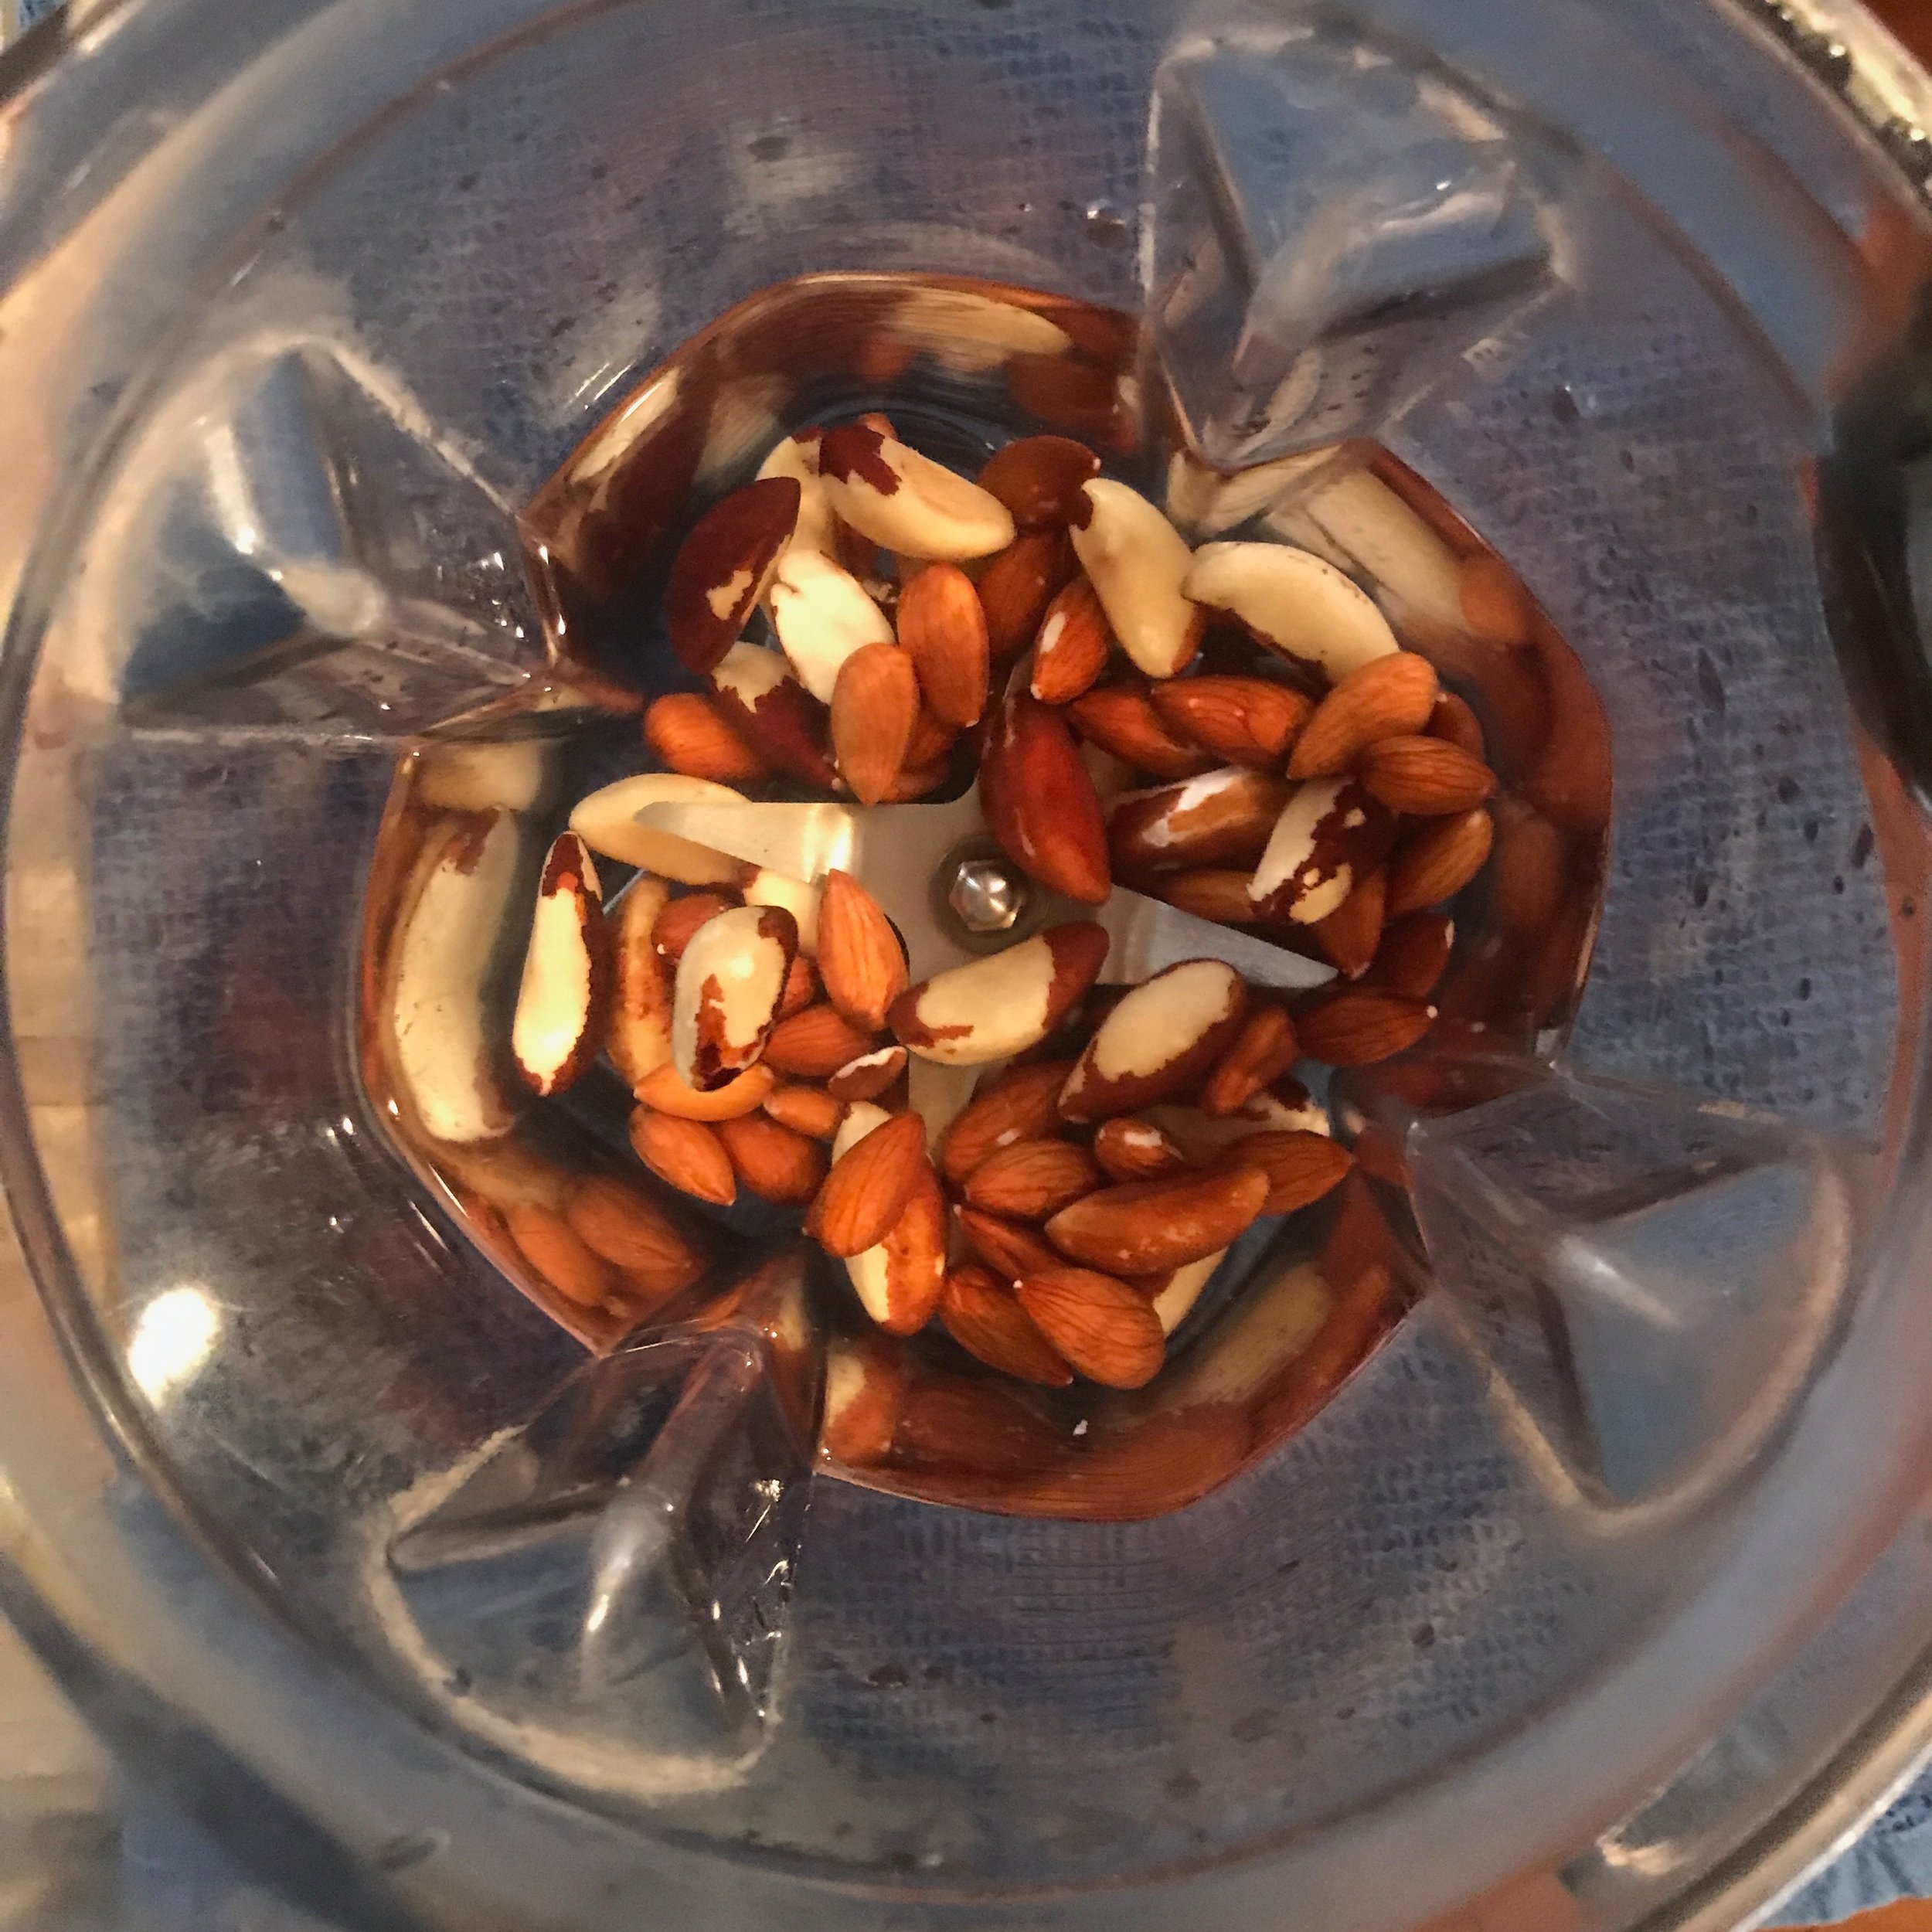
- Combine soaked nuts/seeds and fresh water into your blender. If you’re adding sweetener and/or vanilla add that now too.
- Blend on high until smooth and creamy.
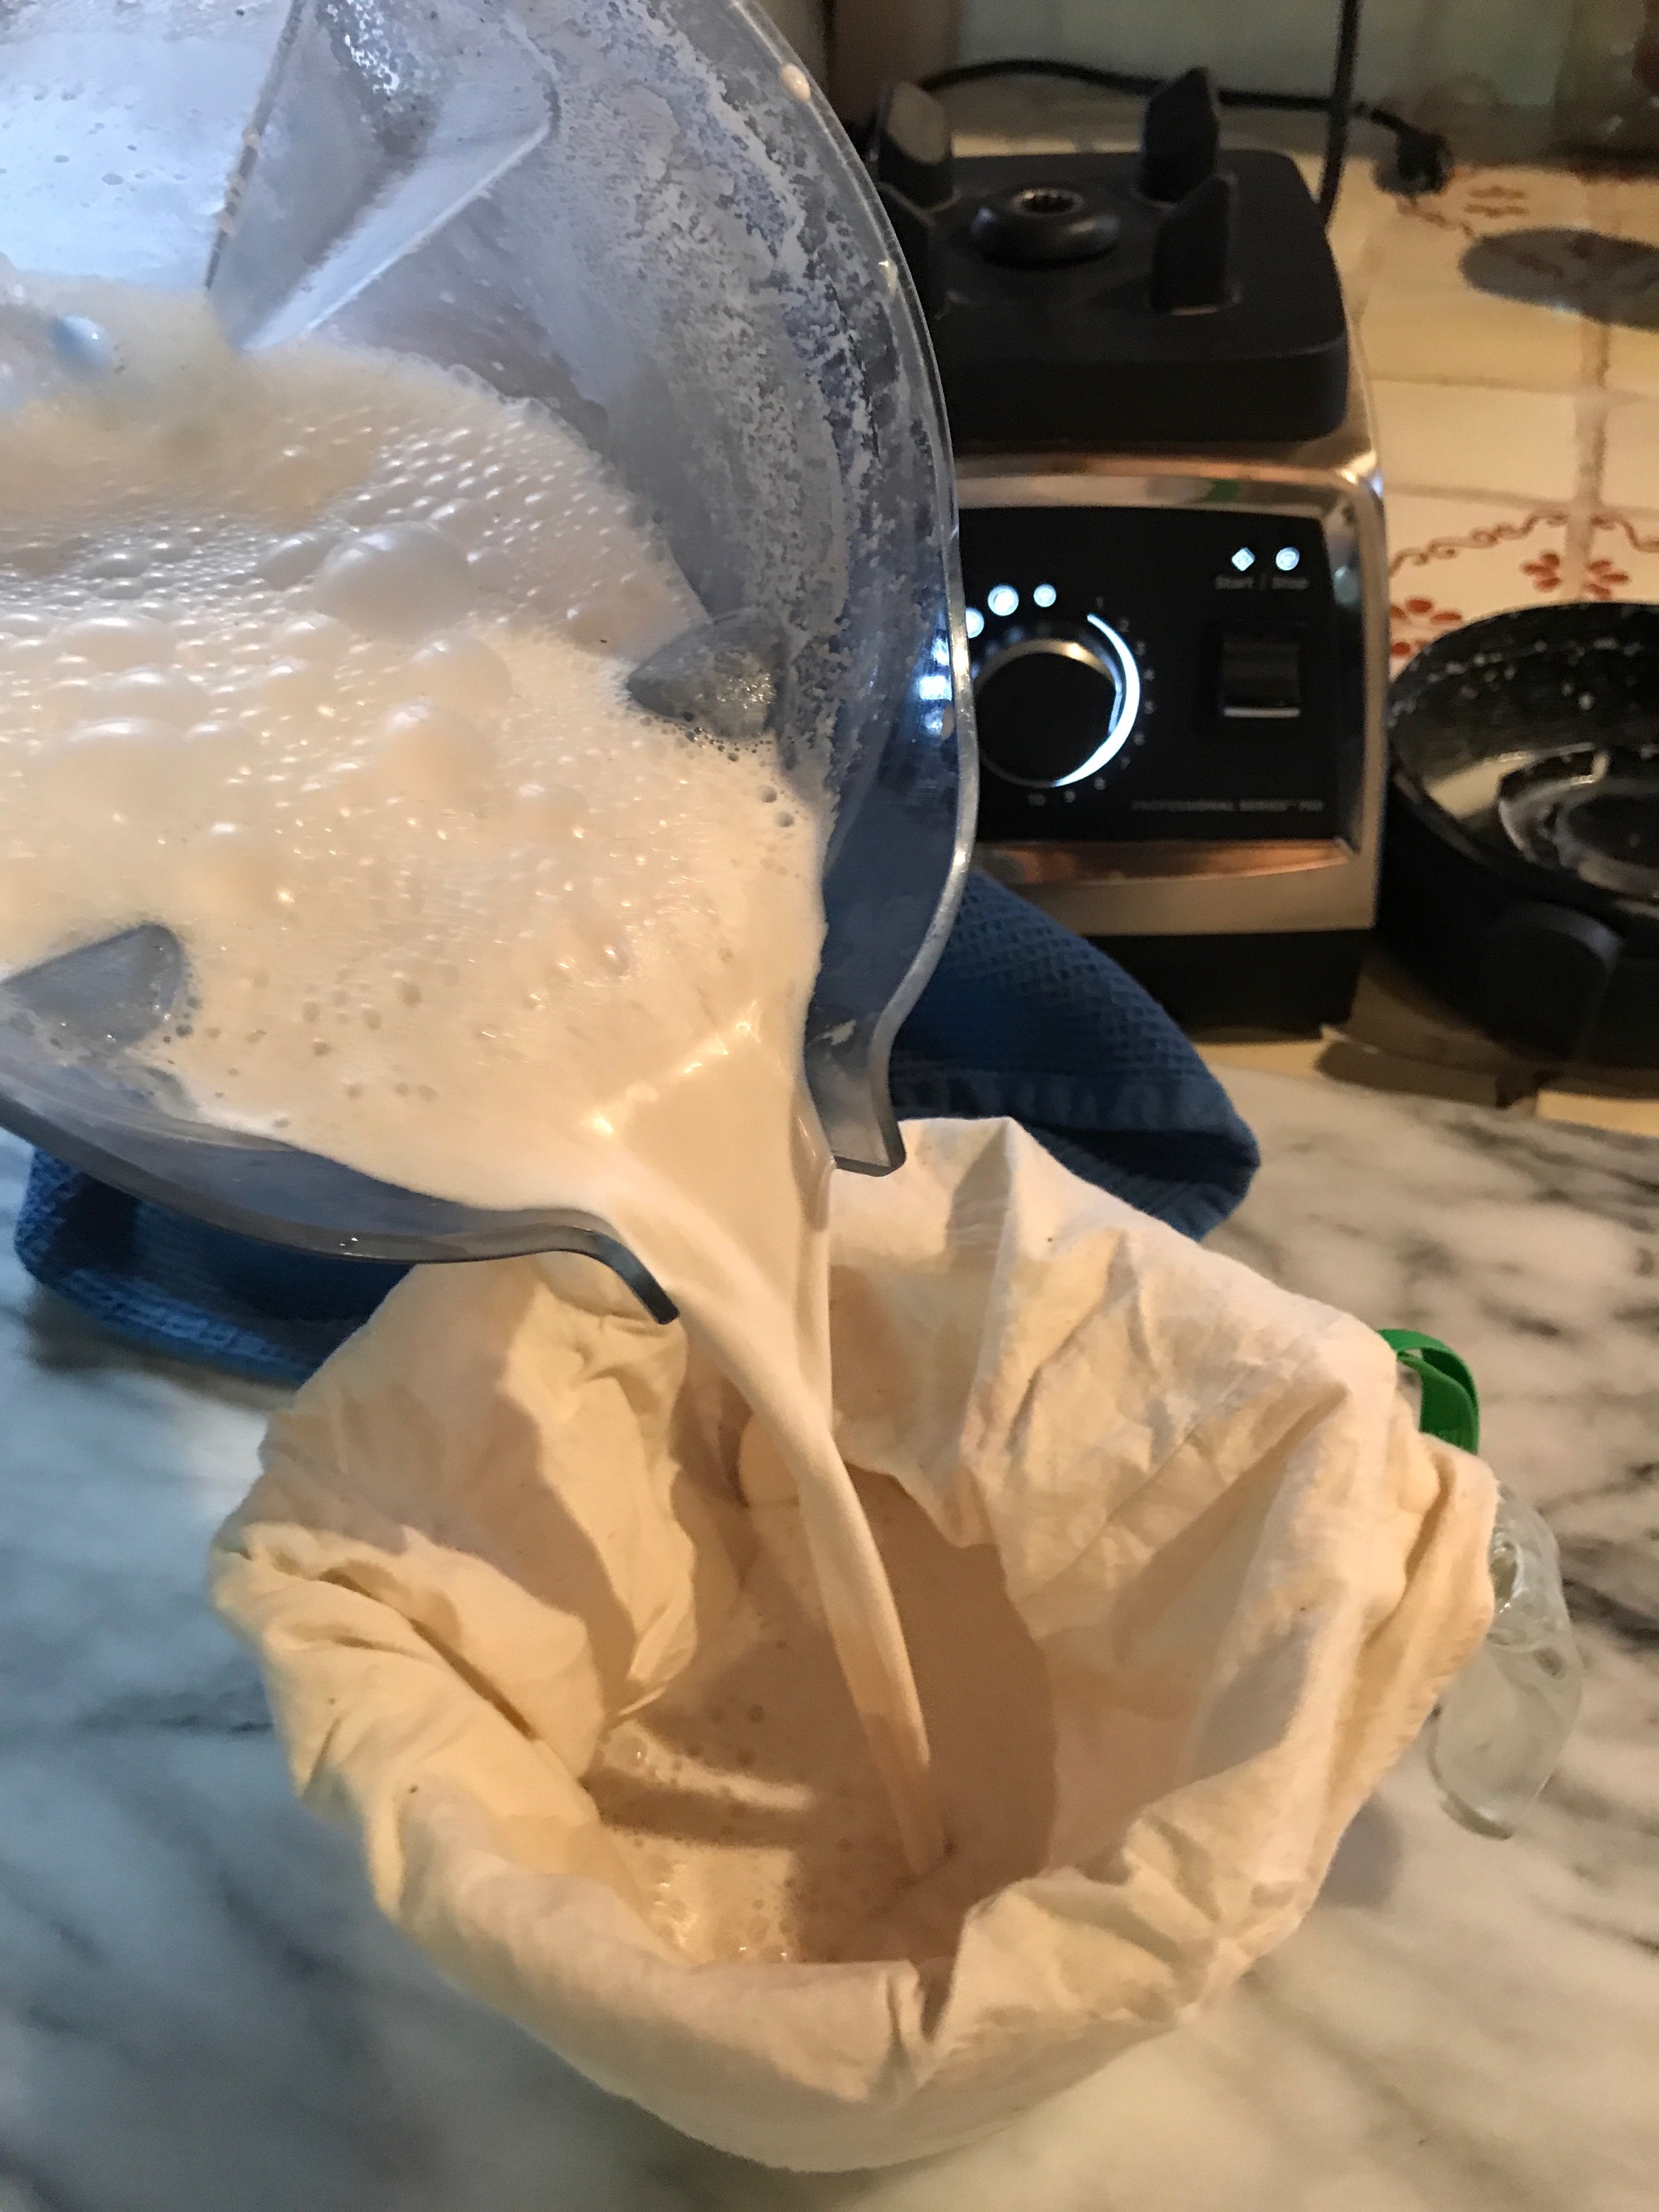
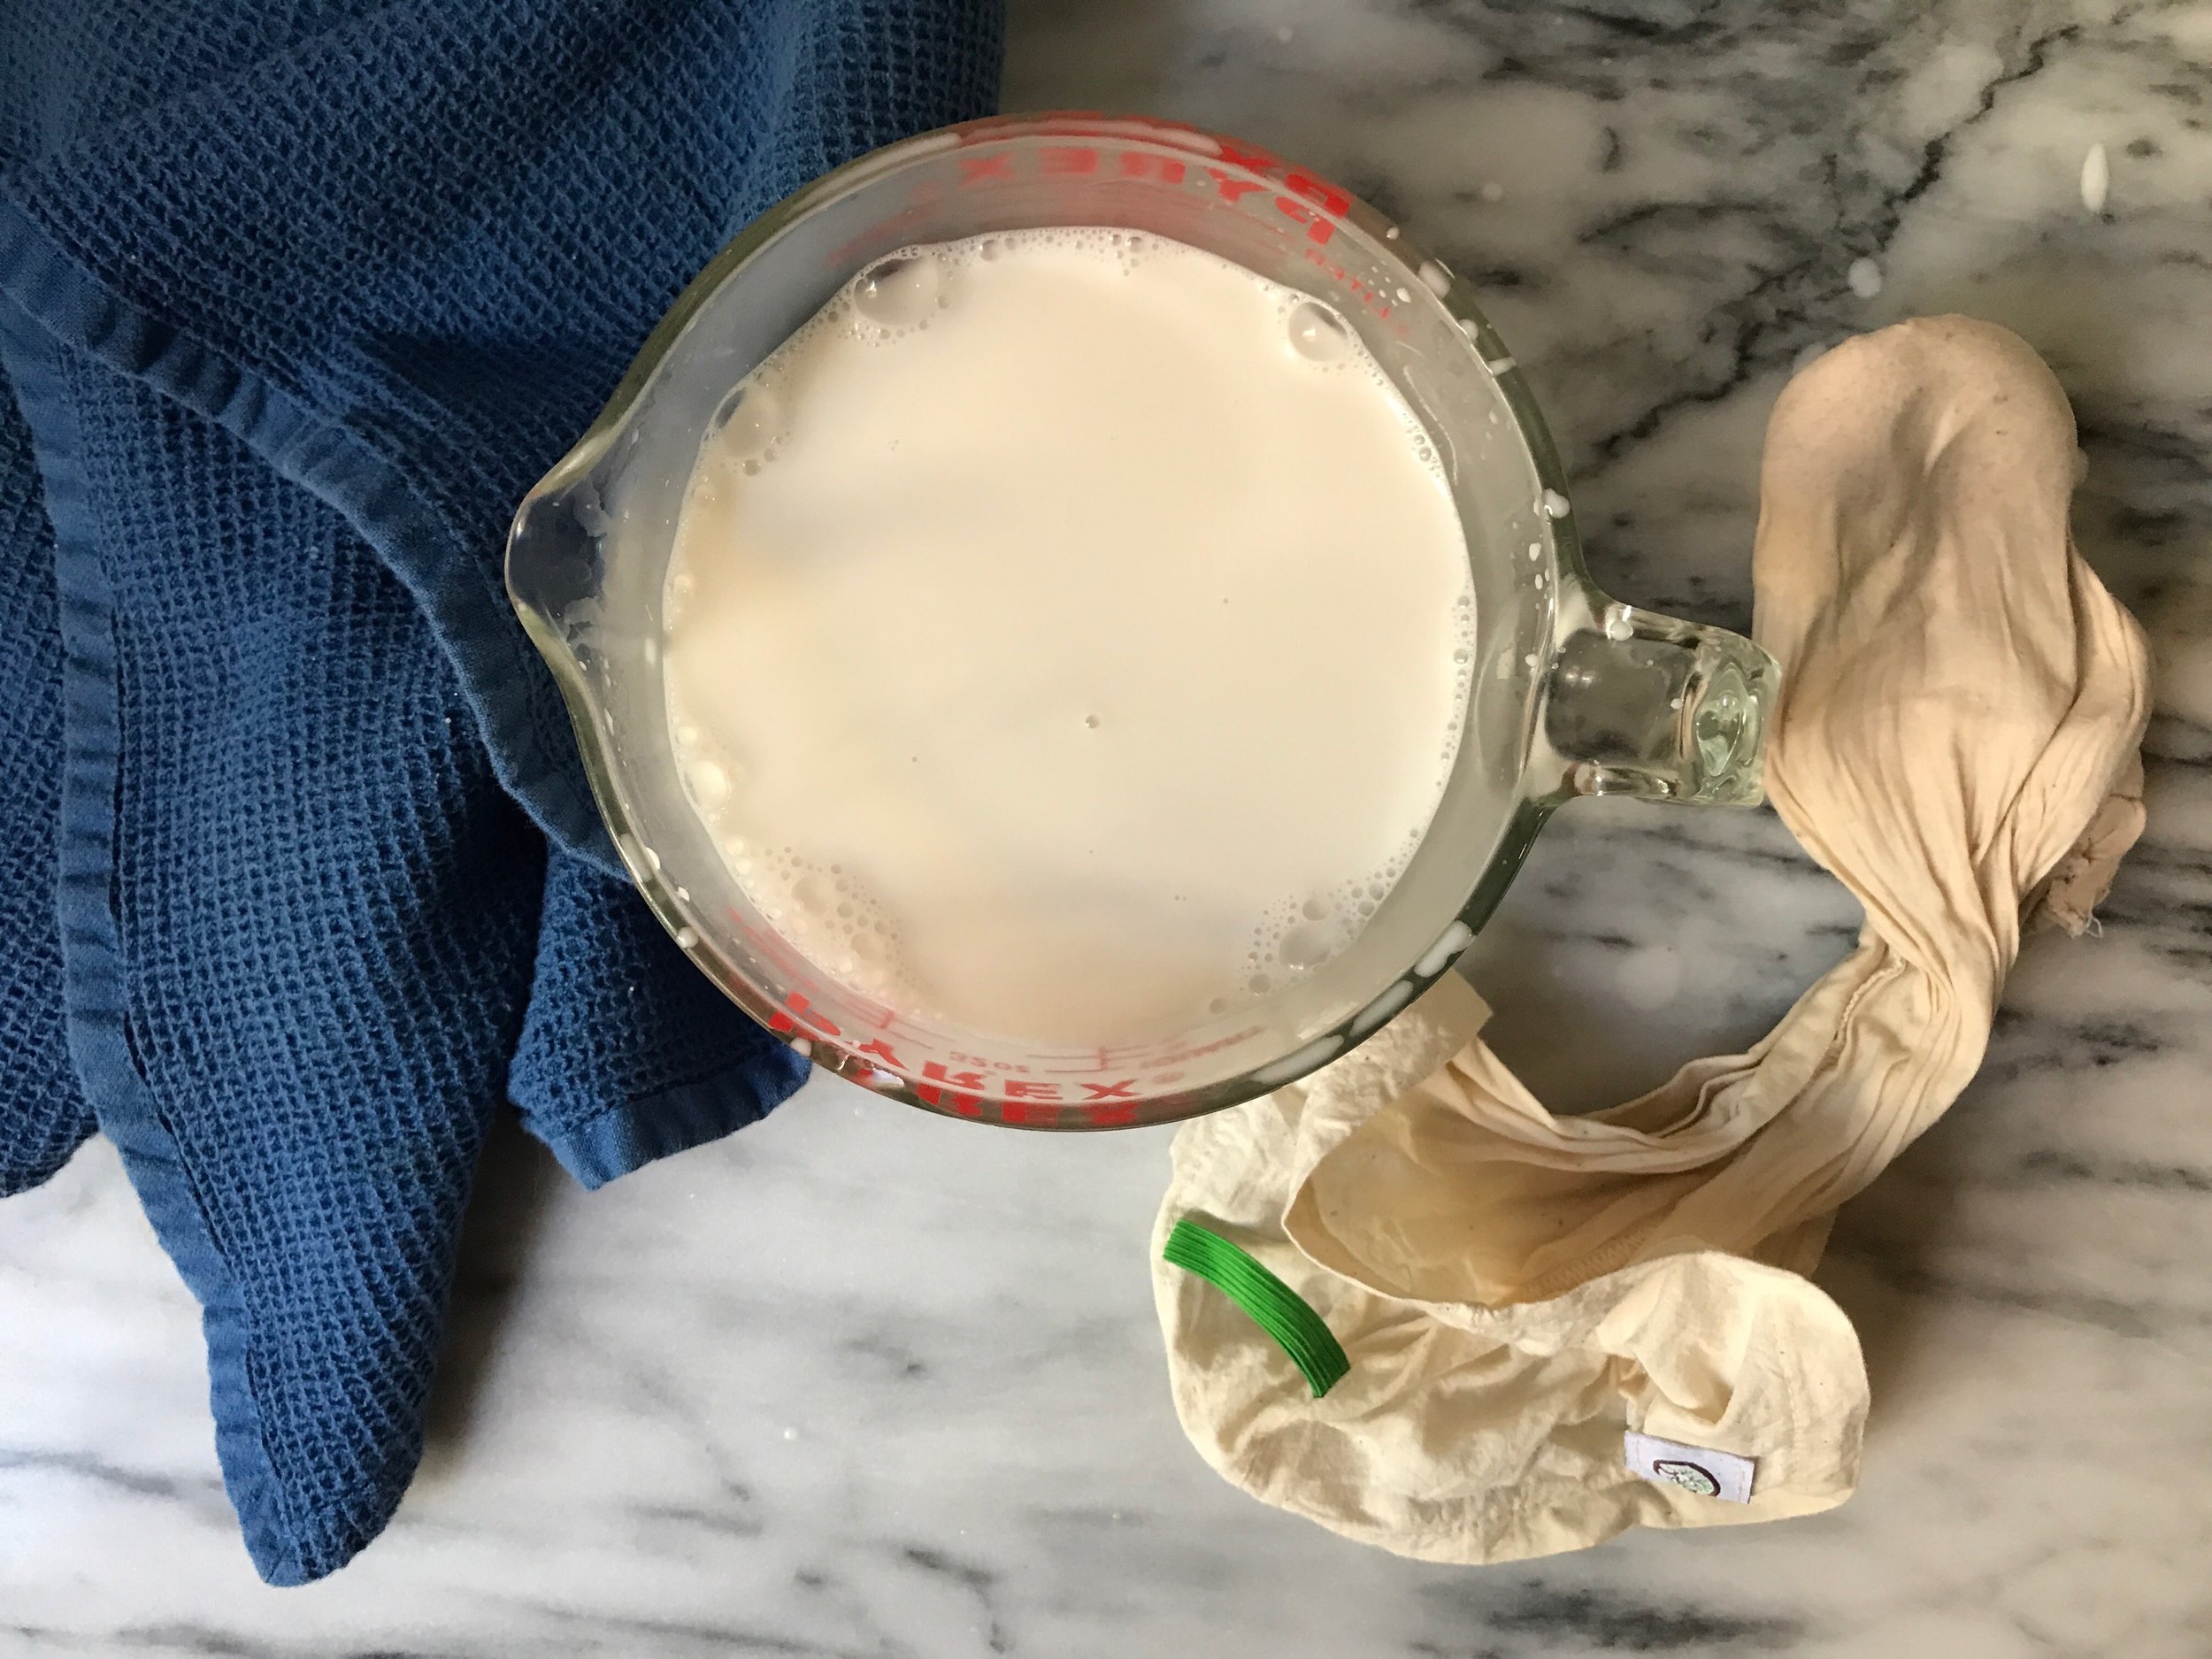
- Place nut milking bag/sack into 32 oz. measuring cup or bowl. Pour mixture into nut milking bag/sack.
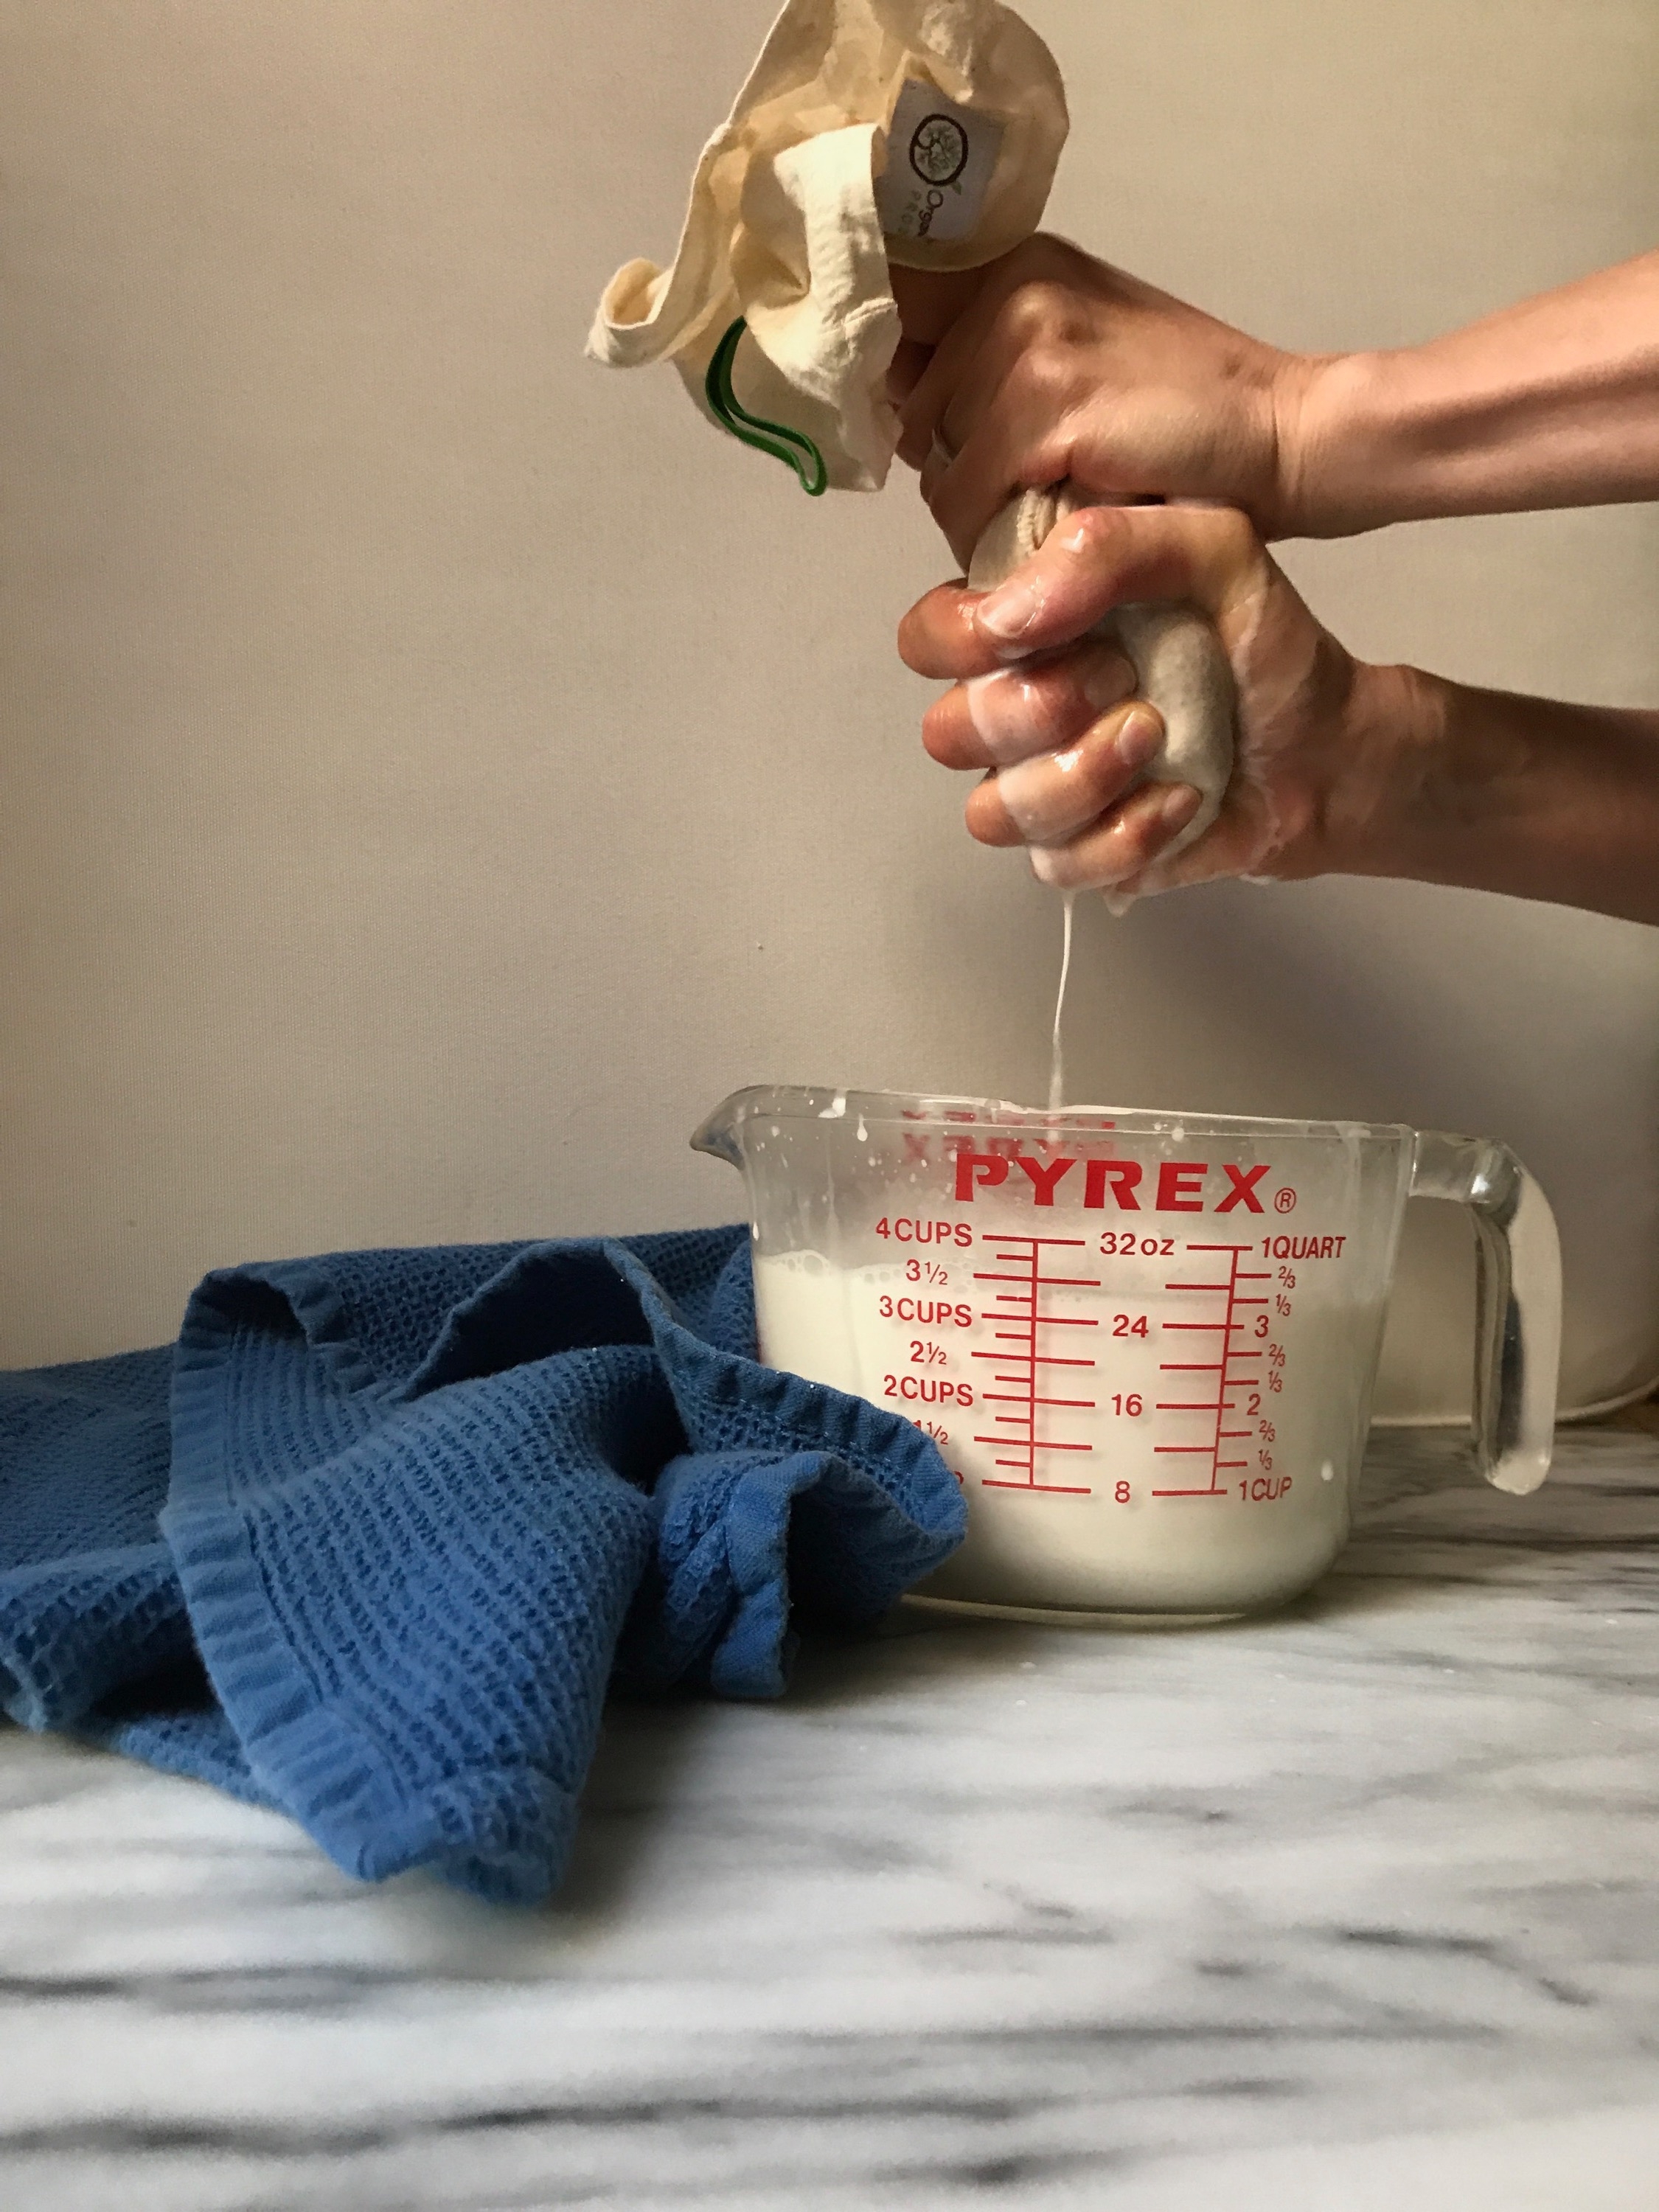
- Pick up the bag and squeeze away until you can’t get out any more liquid. You will only be left with pulp in the bag.
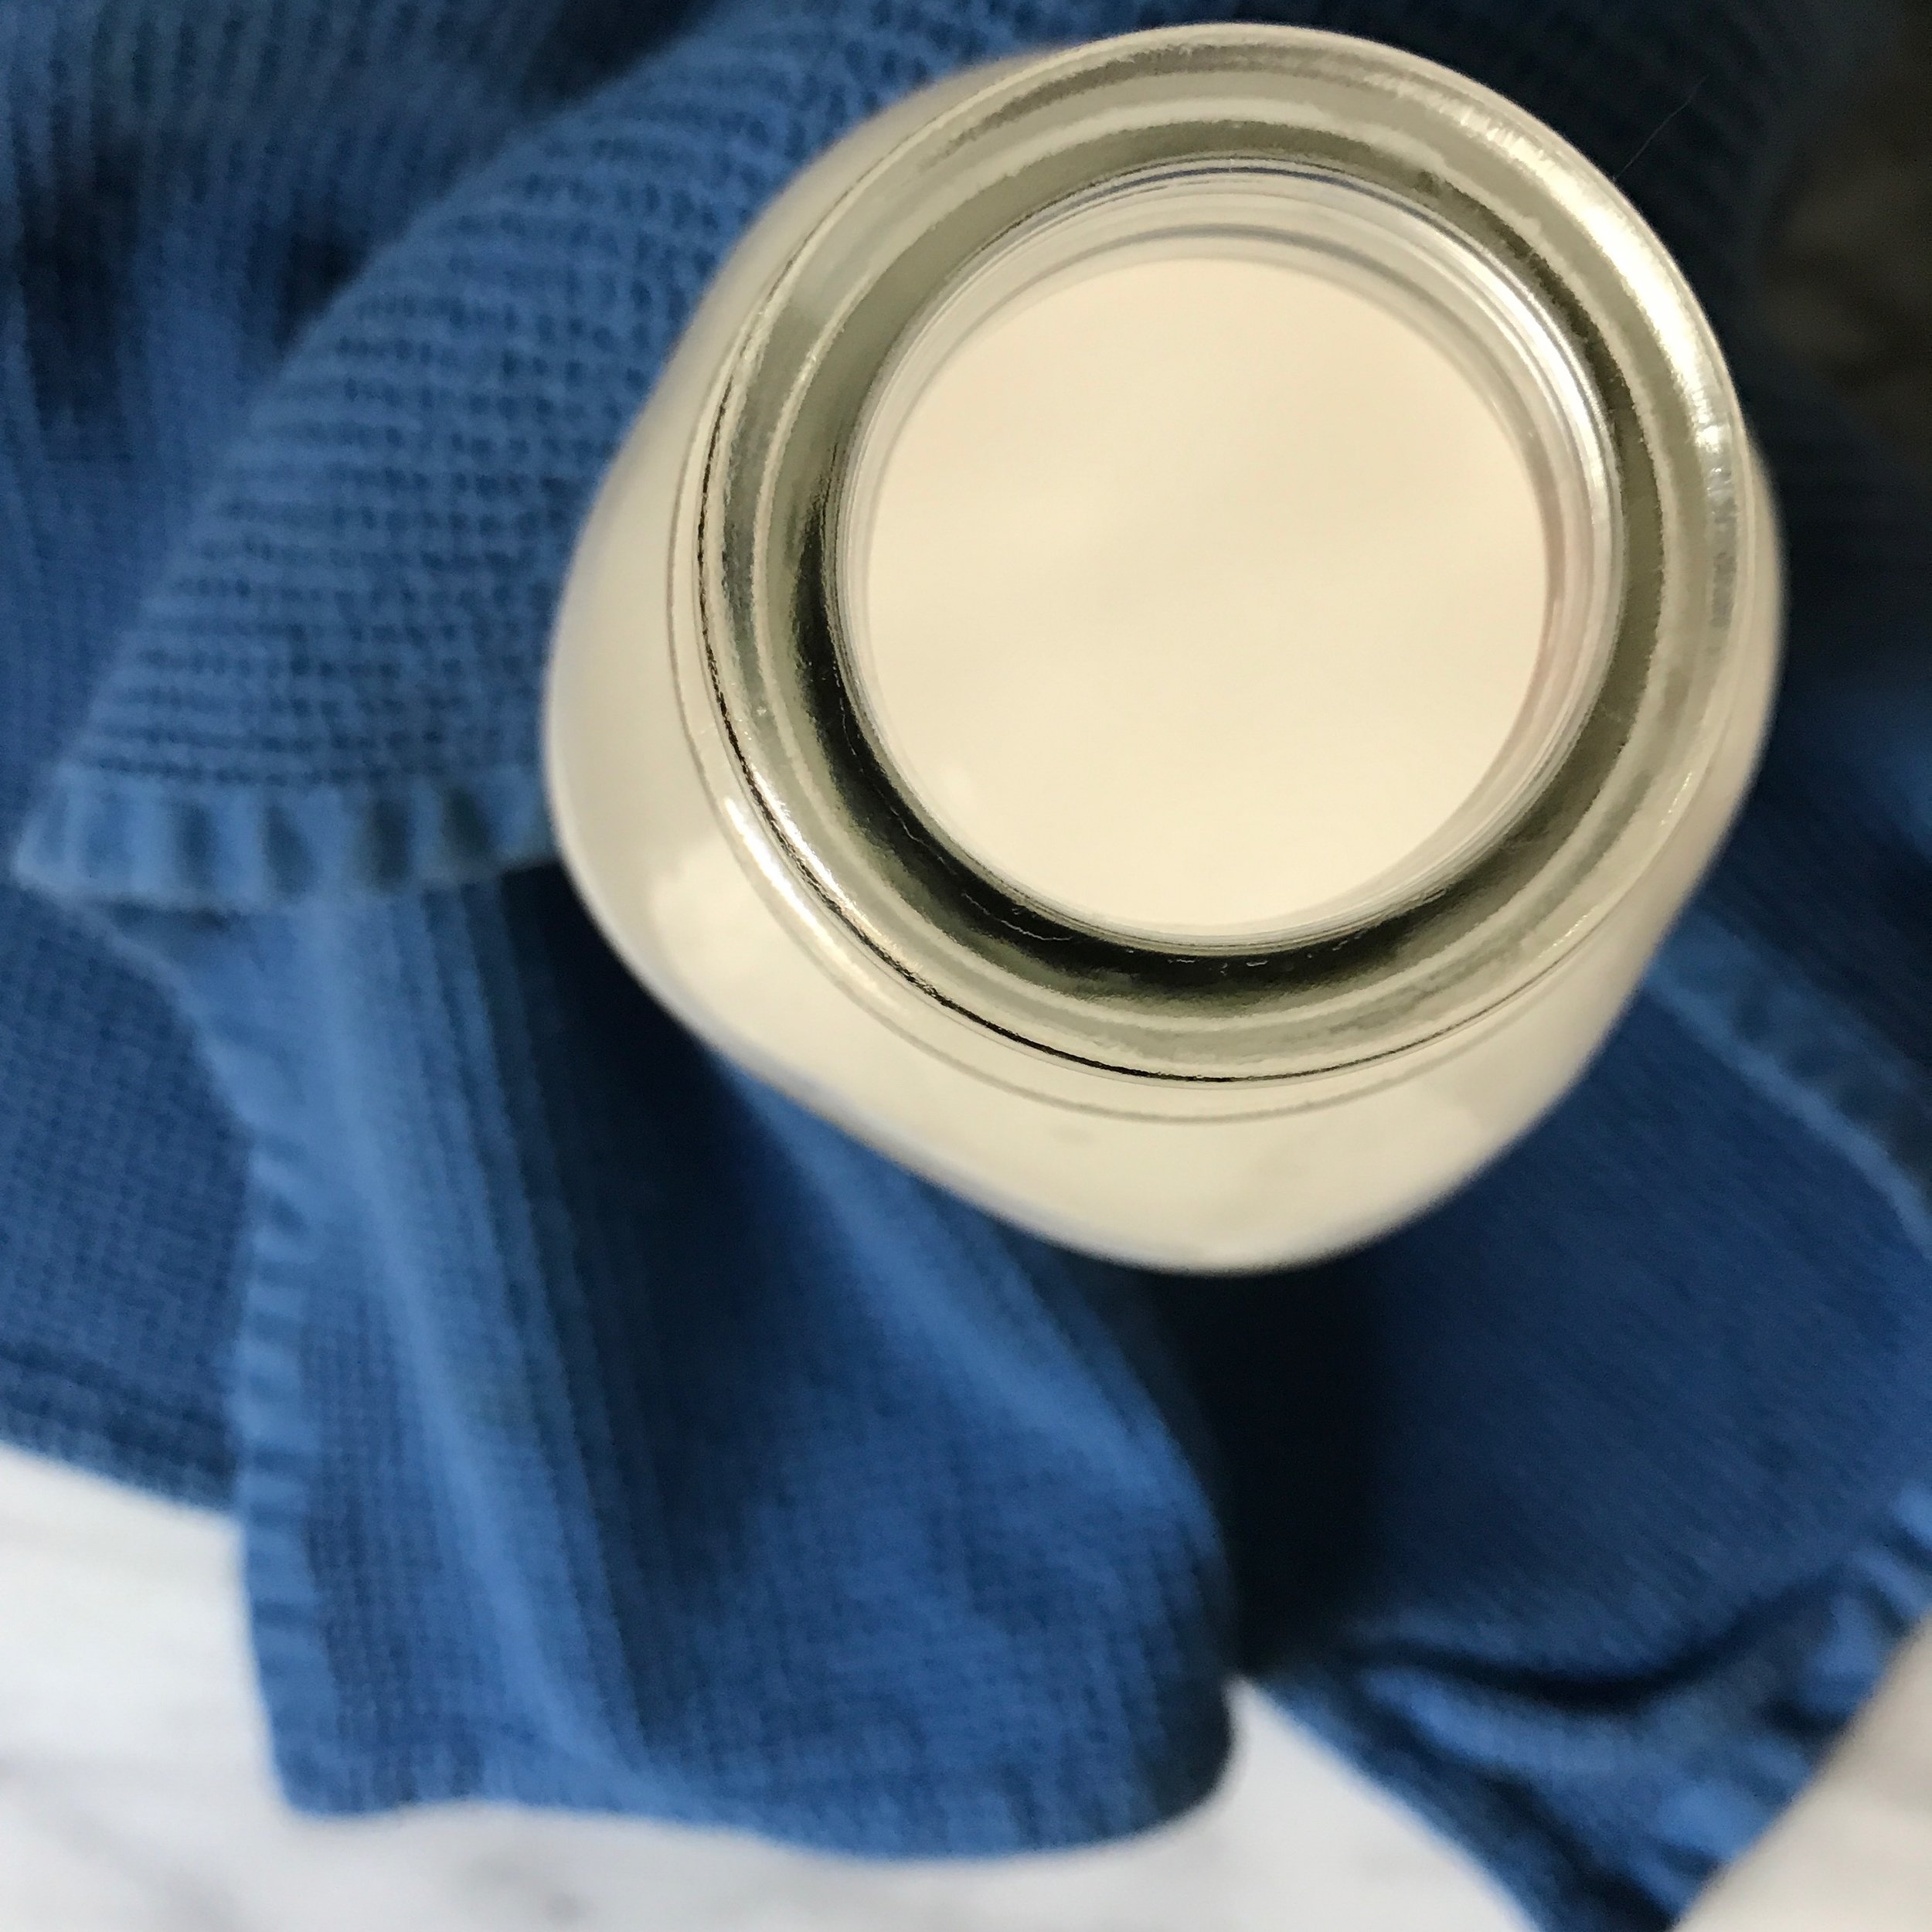
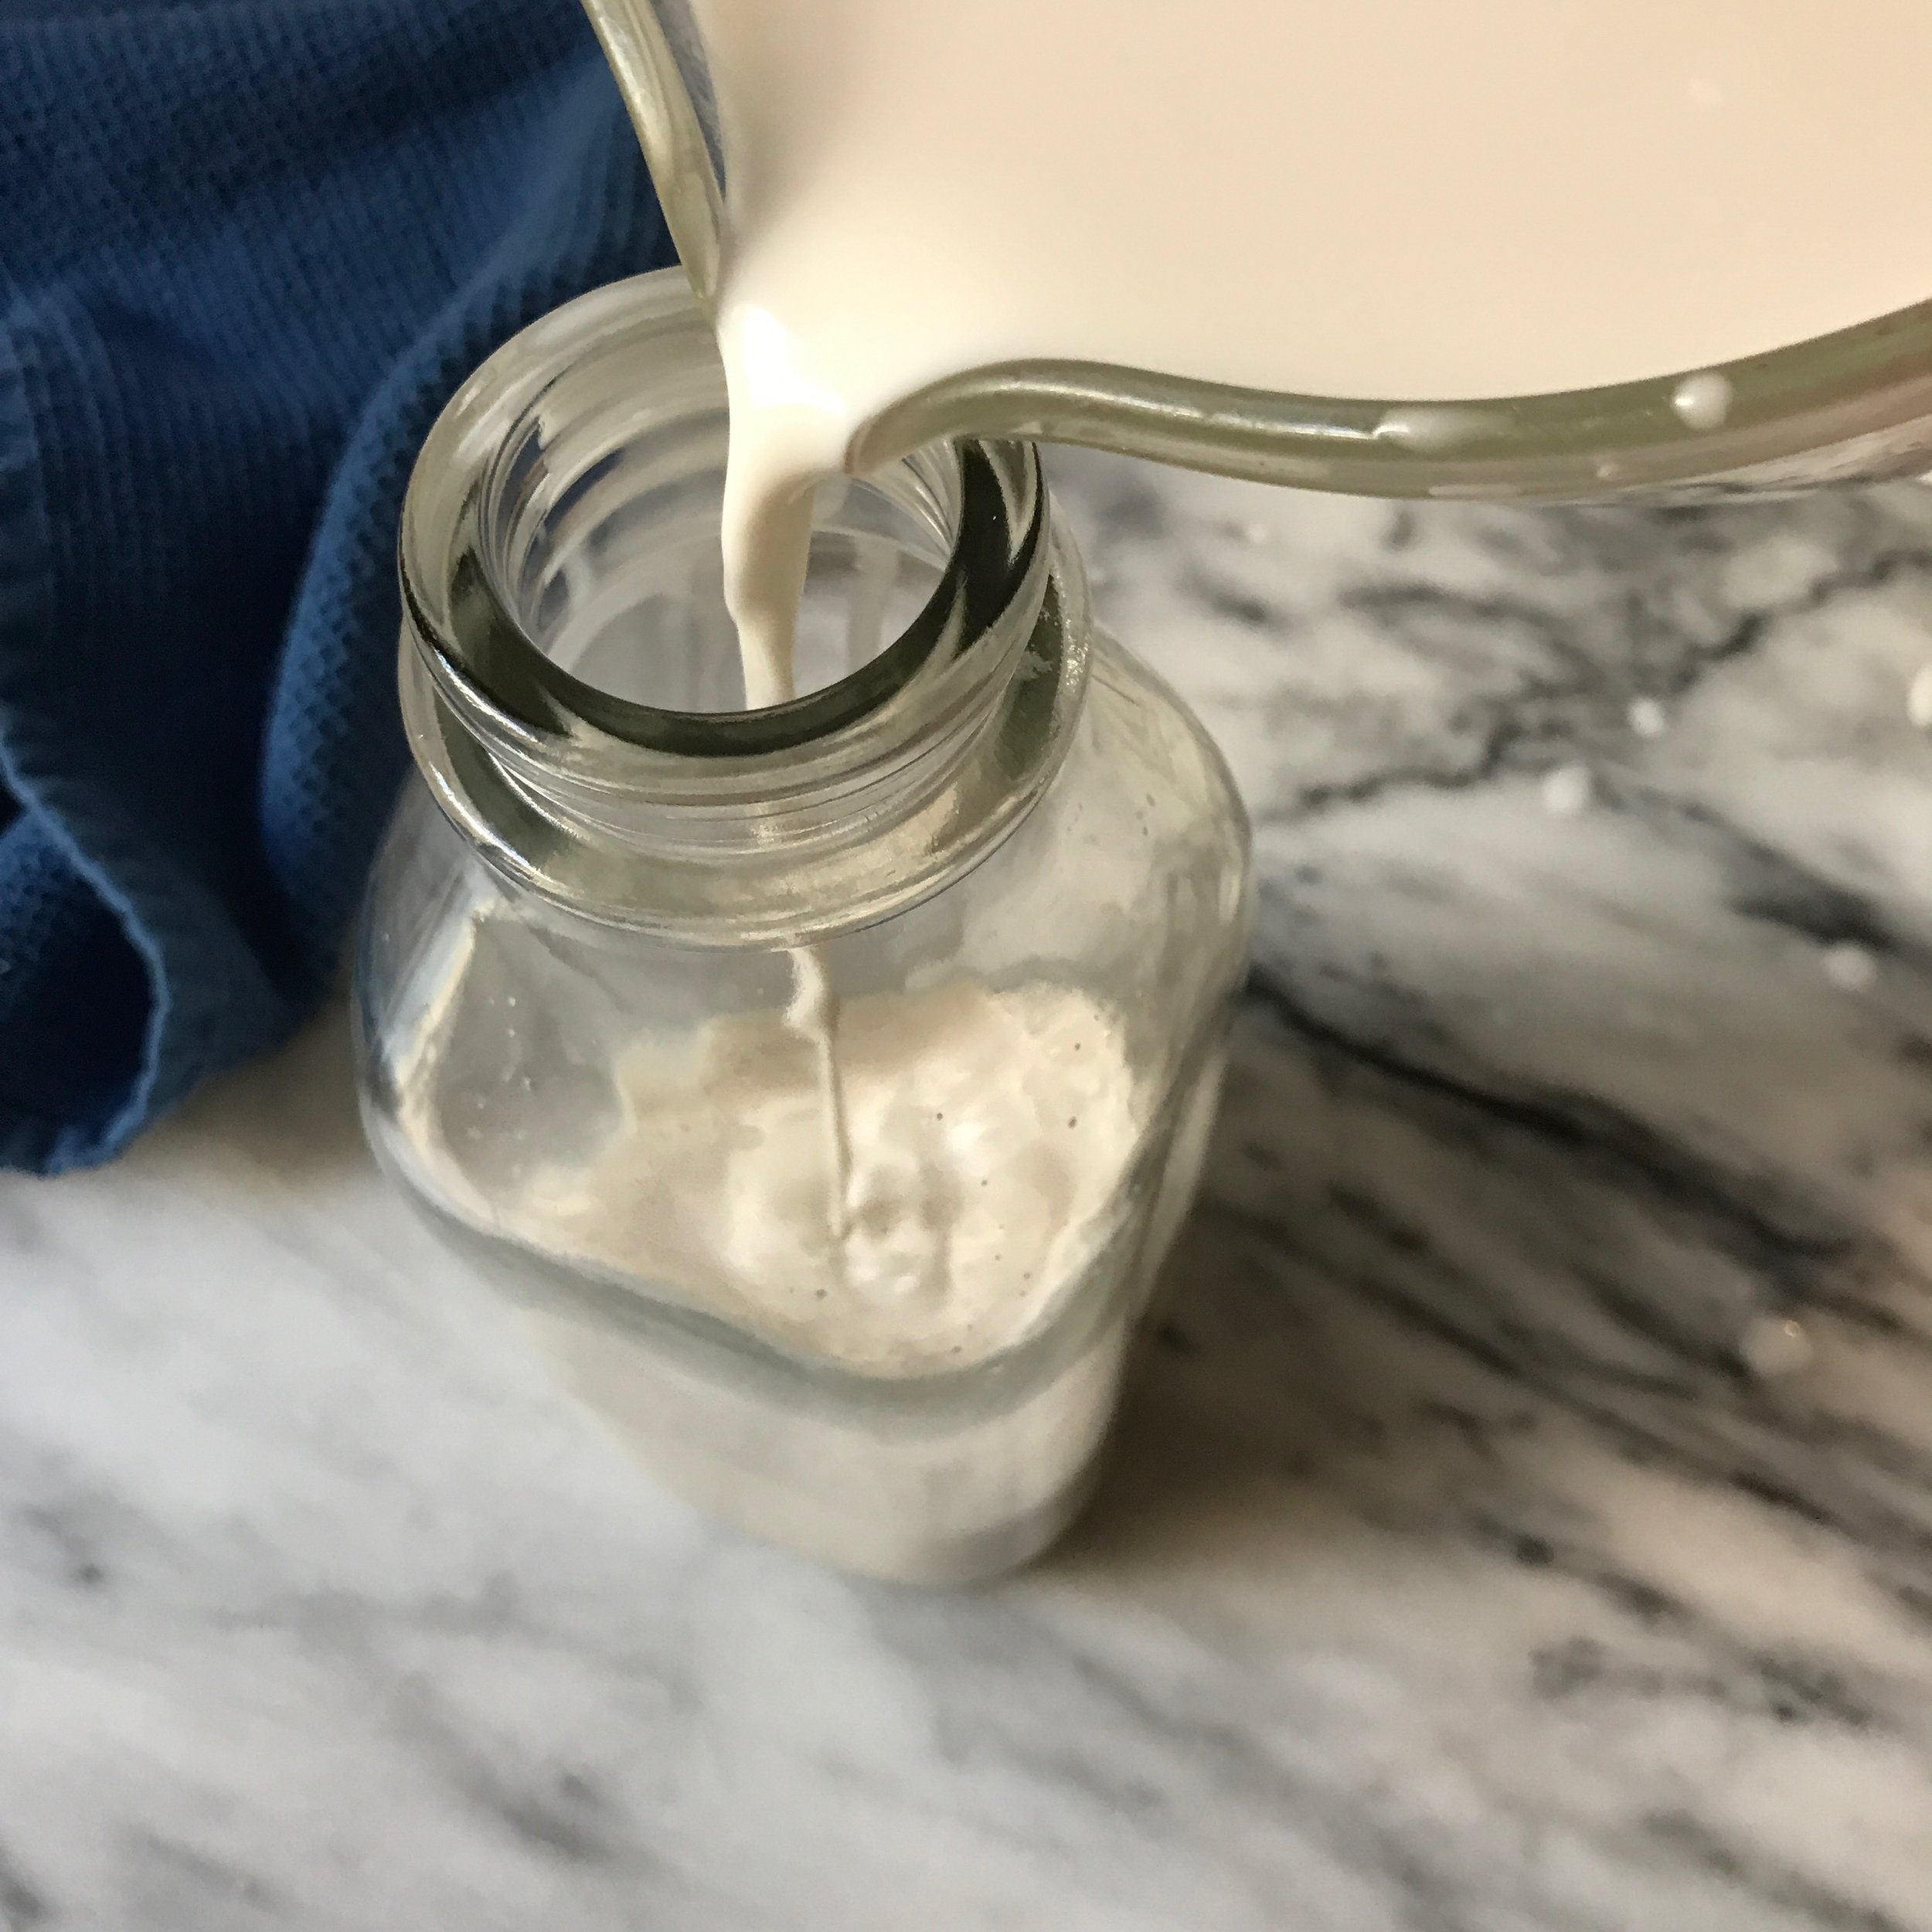
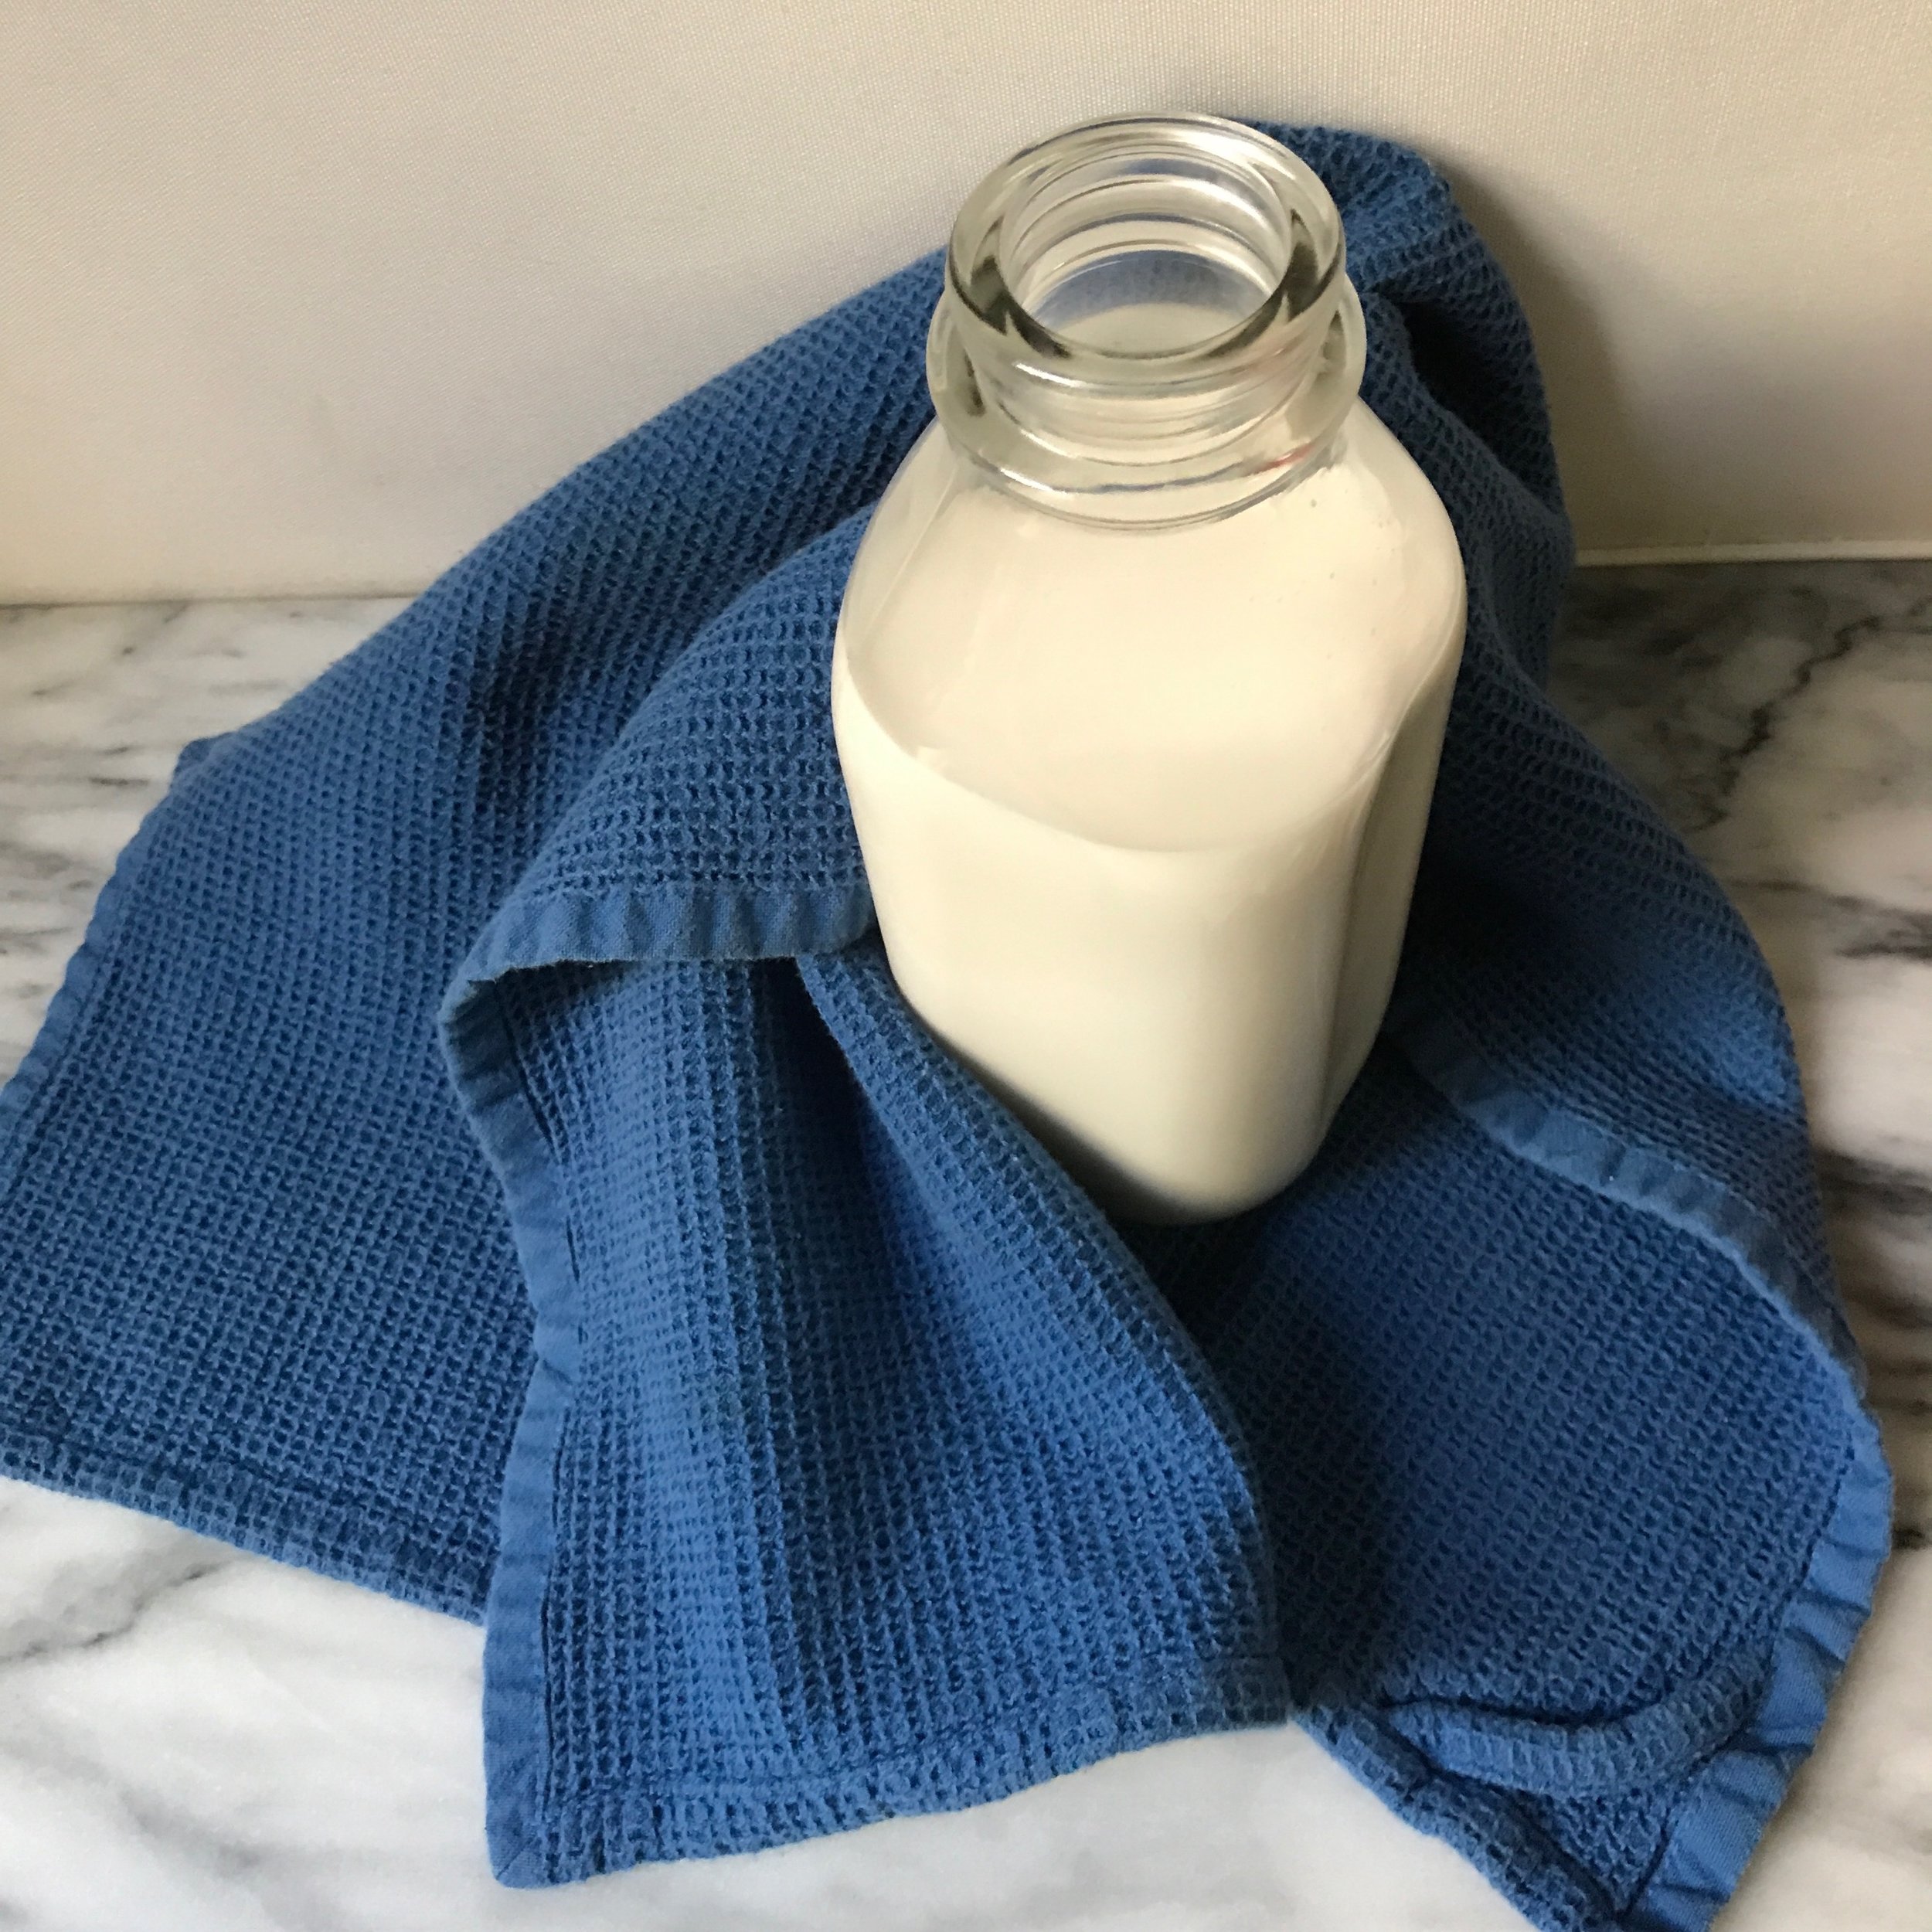
- Pour your fresh milk into a glass jar with a lid. This will keep for 3 - 4 days in the refrigerator.
Pro Tips
Milking: turn your nut sack inside out (seam facing outward). Do this before pouring milk into the bag for headache free washing.
Milking: if you don’t have a nut sack/bag, you can use a fine mesh sieve or cheesecloth. Not optimal, but they will work.
Waste: feel bad about tossing the pulp? Don’t. You can add the pulp to pancakes, smoothies, or oats for added fiber. You can also dehydrate the pulp to make nut/seed flour or crackers. At the very least, toss it in your compost!
Storage: freeze milk for future use. Just leave 1” headspace to prevent cracking your jar.
Storage: pour milk into ice cube trays and freeze. These make for great single serve portions to add to smoothies or homemade dairy free ice cream.
Snack Attack: split some of your fresh batch and mix up some Chocolate or Chai Milk to have on hand in the refrigerator when a sweet tooth craving hits.
Have you made your own dairy free milk?
Let us know your favorite combinations in the comments below.
